Introduction
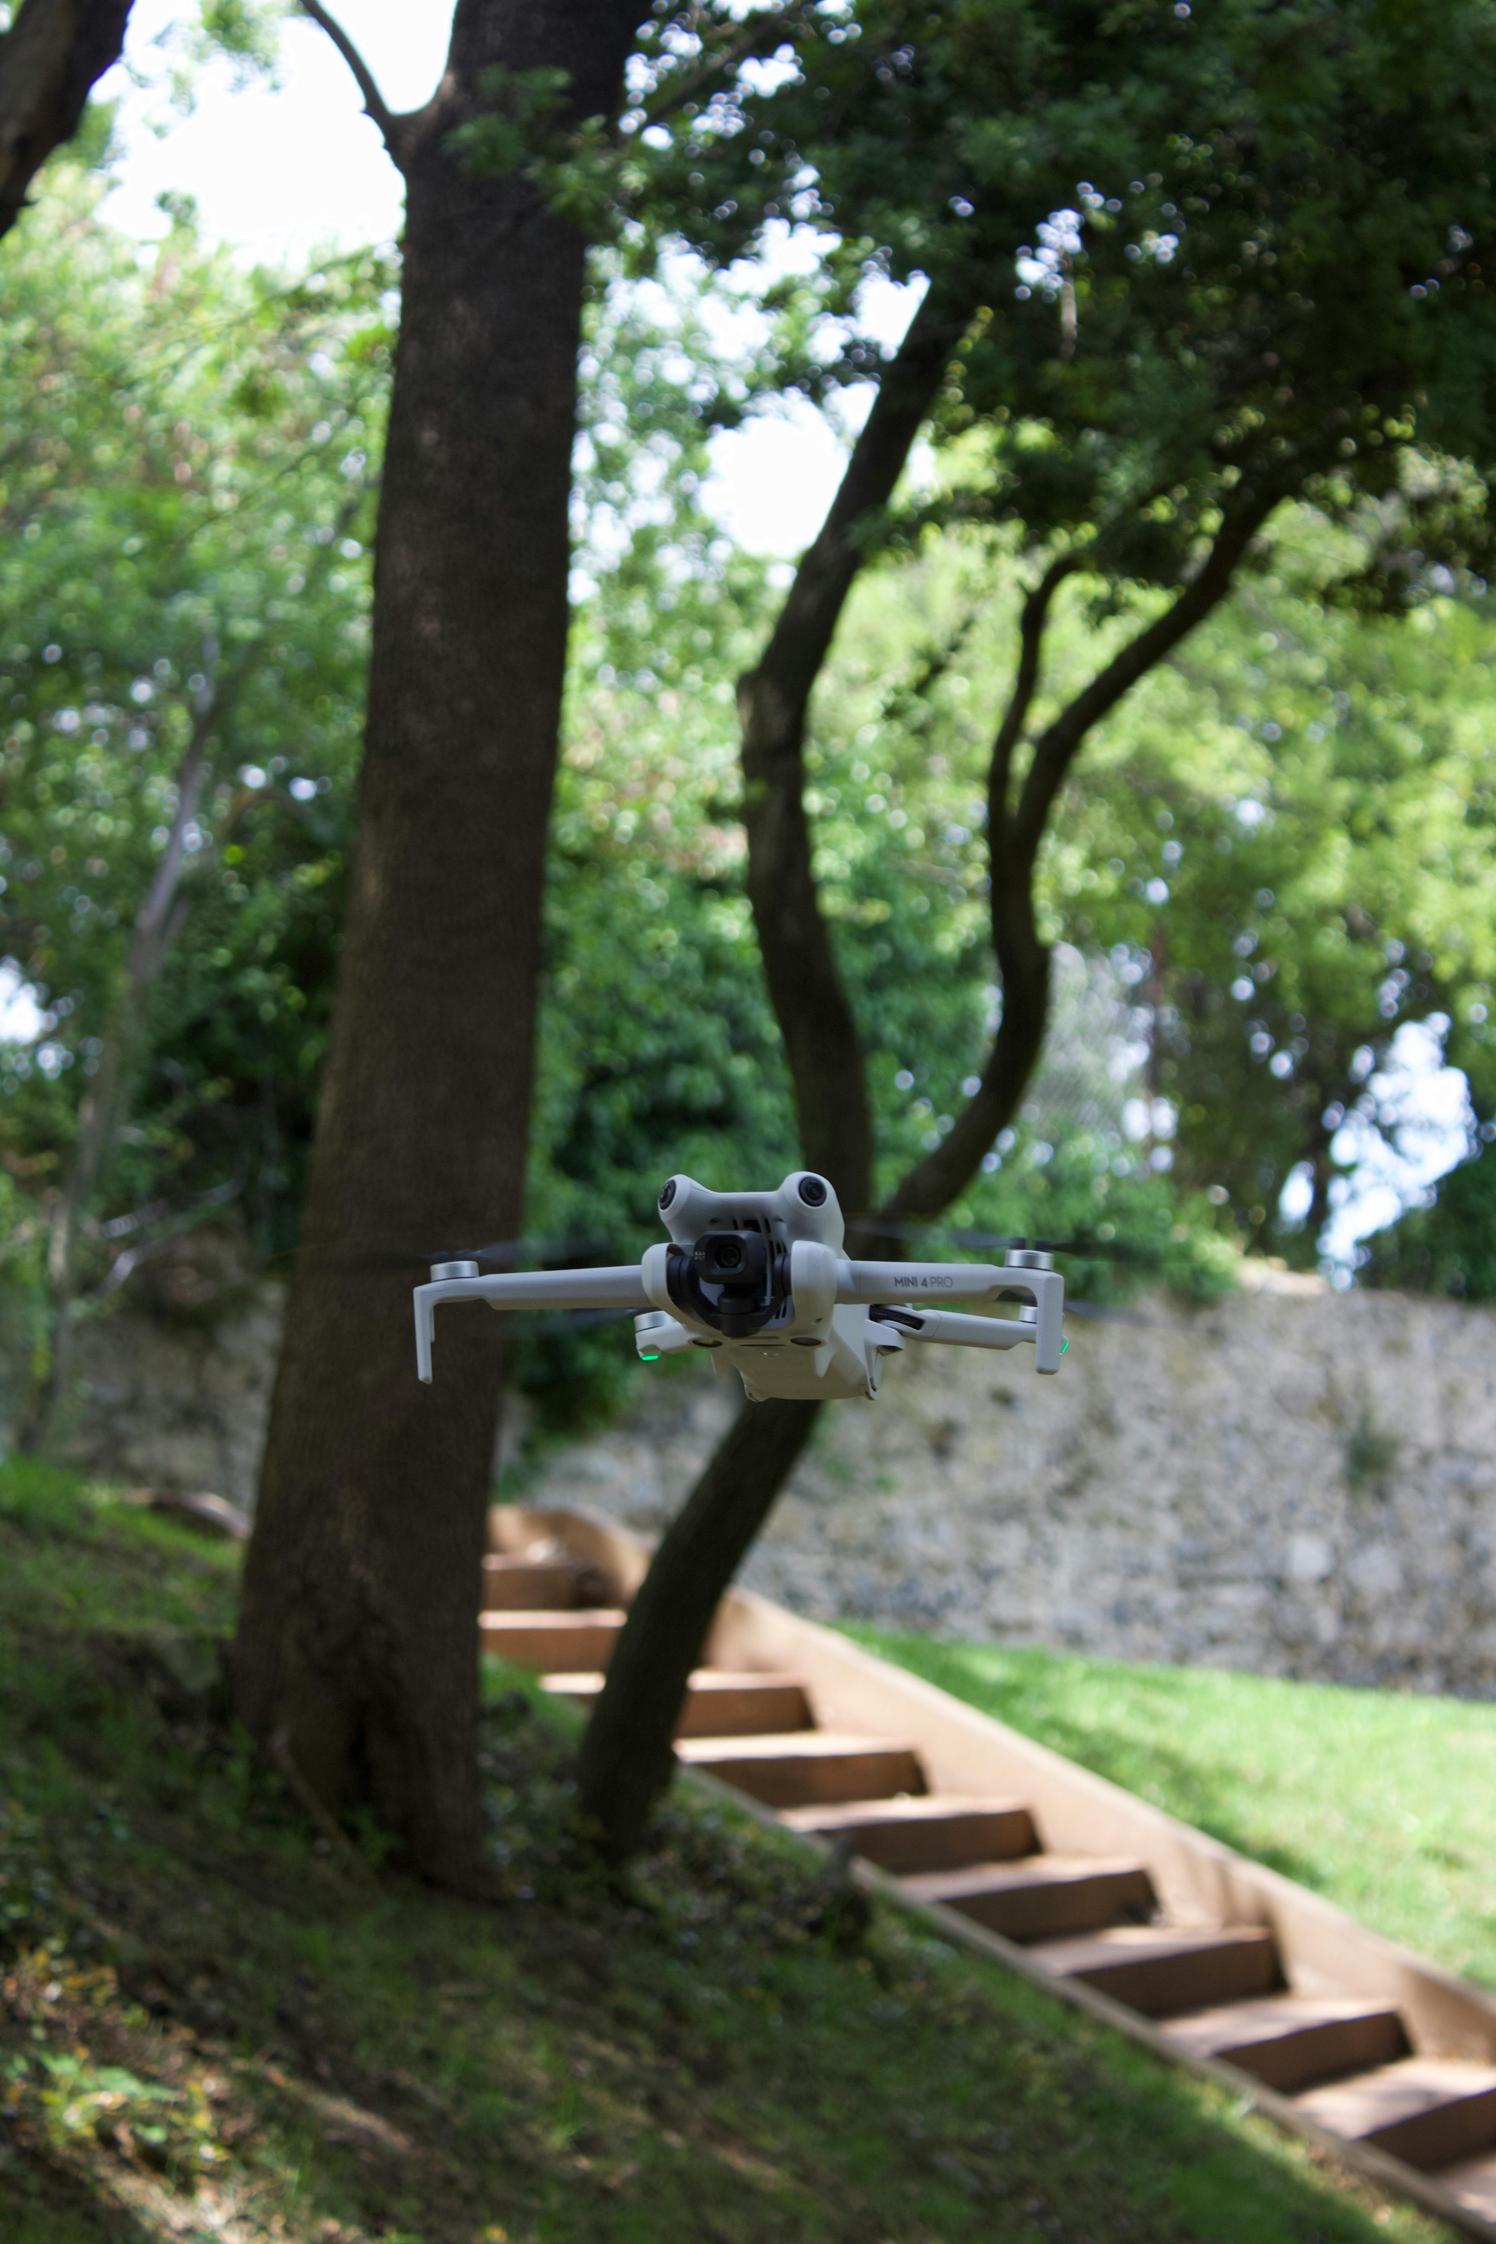
Flying a DJI drone opens up a world of opportunities for capturing stunning aerial footage. Among the numerous features offered by DJI drones, Mastershot stands out as a flagship functionality that automates complex cinematic shots. However, understanding and changing Mastershot settings can be tricky, especially for beginners. This guide aims to demystify the process, helping you optimize your drone’s shooting capabilities.
Before diving into the steps, it’s essential to grasp the concept of Mastershot, understand how to prepare your drone, and identify potential issues you might encounter. By the end of this guide, you’ll be proficient in adjusting and optimizing Mastershot settings on your DJI drone.
Understanding Mastershot
Mastershot is a pre-programmed feature available on some DJI drones that allows users to capture high-quality, cinematic footage with minimal manual intervention. Essentially, Mastershot performs a series of intricate maneuvers and captures footage along the way. This feature is particularly beneficial for novice pilots who may not yet possess the skills required for complex aerial cinematography.
Several default Mastershot sequences come built-in, each designed to create a specific type of footage. They incorporate smooth transitions, varied camera angles, and cinematic movements, requiring only a few taps on your device. By automating these elements, Mastershot minimizes the learning curve associated with professional drone piloting.
Understanding how to customize and adjust Mastershot will not only enhance your filming capabilities but also save valuable time and effort. Let’s move on to preparing your DJI drone for utilizing this fantastic feature.
Preparing Your DJI Drone for Mastershot
Before you start changing Mastershot settings, proper preparation of your drone is crucial. Follow these preliminary steps to ensure your drone operates flawlessly during your shoot:
- Charge Your Battery Fully: Ensure that your drone, controller, and any related devices are fully charged. A sudden power loss in the middle of a Mastershot can ruin your footage and potentially harm your drone.
- Update Firmware: Make sure your drone’s firmware is up to date. Outdated firmware can hinder functionality and prevent you from accessing new features.
- Calibrate Sensors: Carry out IMU and compass calibrations in a GPS-open area. Proper calibration ensures the drone’s stability and accurate positioning.
- Inspect the Drone: Visually examine the propellers, camera, and other components to rule out any damages or debris that could interfere with flight.
By preparing your drone adequately, you’re setting the stage for a seamless, high-quality recording session. The next step is to access and customize your Mastershot settings.
Accessing and Customizing Mastershot Settings
Navigating the Mastershot menu and customizing settings is integral to achieving professional-quality shots. This section covers the steps needed to access the Mastershot menu and adjust individual settings to suit your filming needs.
How to Access the Mastershot Menu
- Power On Your Devices: Turn on your DJI drone and remote controller. Connect your mobile device to the controller if it hasn’t been connected already.
- Launch the DJI App: Open the DJI Fly or DJI GO 4 app, depending on your drone model. Ensure your app is up to date to access the latest features.
- Enter Camera Mode: After connecting to the drone, navigate to the camera interface. From here, you can access various shooting modes.
- Select Mastershot: Tap the shooting mode icon, often represented by a camera. Scroll through the available options and select ‘Mastershot.’ This should open up the Mastershot interface, giving you access to various pre-programmed shots.
Customizing Individual Shots
Mastershot offers the flexibility to tweak individual shots within a sequence. Here’s how you can do it:
- Choose a Mastershot Sequence: Within the Mastershot interface, you’ll find a list of pre-set sequences such as ‘Circle,’ ‘Helix,’ or ‘Rocket.’ Select the sequence that best matches the type of footage you want.
- Preview Shots: Tap on each shot within the sequence to preview what it will look like. This feature allows you to visualize and decide which shots to include or remove.
- Edit Shots: For more flexibility, you can edit individual shots by adjusting factors like duration, speed, and camera angles. This allows you to tailor each shot closer to your creative vision.
Adjusting Parameters for Optimal Results
To get the most out of Mastershot, fine-tuning various parameters is essential.
- Adjust Speed Settings: Slower speeds result in smoother, more cinematic footage, while higher speeds can add a dynamic edge to your shots. Experiment with speed settings to see what works best for your scene.
- Set Altitude and Distance: Define how high and how far your drone should fly during each shot. Keep in mind that higher altitudes offer a broader view, while lower altitudes can capture more details.
- Camera Settings: Adjust ISO, shutter speed, and white balance in the camera settings menu. For the best quality footage, it is often recommended to shoot in manual mode, allowing you more control over exposure and color balance.
Once you have customized the Mastershot settings to your liking, always perform a quick test flight to ensure everything operates as expected. This preparation can save you from potential disappointments during actual shoots.
Troubleshooting Common Issues
Even with meticulous preparation, issues can occasionally arise. Here are some common problems you might encounter and their solutions:
GPS Signal Problems
- Move to Open Space: If your drone can’t lock onto GPS signals, move to a more open area free from tall buildings or dense tree cover.
- Recalibrate Compass: Occasionally, recalibrating the compass can resolve signal issues. Follow the app’s on-screen instructions to perform the calibration.
Battery and Connectivity Issues
- Battery Drain: If you notice your battery draining quickly, minimize power-hungry settings like high frame rates and resolution.
- Connectivity Loss: For connectivity problems, ensure all firmware and apps are up to date. Restart both the drone and the controller to reset the connection.
Solutions for Common Software Glitches
- Restart the App: Sometimes, simply restarting the DJI app can fix glitches.
- Reinstall Firmware: If problems persist, reinstalling the old firmware version and then updating to the latest version can resolve software bugs.
By troubleshooting proactively, you can avoid disruptions and maintain the quality of your footage.
Advanced Tips for Professional Shots
For those looking to elevate their shots further:
- Use ND Filters: Neutral Density (ND) filters help control exposure and create more professional-looking footage, especially in bright environments.
- D-Log Mode: Switching to D-Log mode gives you more flexibility in post-processing by capturing a greater dynamic range.
Conclusion
Mastering the Mastershot feature on your DJI drone can significantly enhance your aerial filming capabilities. From understanding the basics to customizing settings and troubleshooting issues, this guide provides all the necessary steps to turn your amateur footage into professional-grade content.
Frequently Asked Questions
What to Do if Mastershot Fails to Execute
Ensure that your drone firmware and app are up to date. Restart your devices and try again. If the issue persists, consult DJI support.
How to Improve Battery Longevity During Flights
Avoid flying in extreme weather conditions, and turn off unnecessary features in your settings to conserve battery life.
Can I Use Mastershot in Different Weather Conditions?
While Mastershot can operate in various conditions, avoid using it in high winds, rain, or snow to maintain optimal performance and ensure safety.