Introduction
If you’re keen on enhancing your iPhone’s audio recording quality, knowing how to connect an external microphone to your device is crucial. Whether you’re podcasting, vlogging, or conducting interviews, good sound quality can make your content captivating. This guide will walk you through various ways to connect a microphone to your iPhone. Explore different microphone options, required accessories, and learn to troubleshoot common issues, all aimed at achieving professional-grade audio recordings.
Understanding iPhone Audio Ports and Connections
As iPhone models have developed, so too have the methods for connecting audio devices. The transition from the traditional 3.5mm headphone jack to the multi-functional Lightning port on most modern iPhones reflects Apple’s shift toward streamlined device designs. The Lightning port, apart from its charging capability, facilitates audio and data transfer when used with appropriate accessories. Moreover, some of the latest iPhone models even incorporate USB-C ports, broadening the range of compatible audio devices. An understanding of these connection points is vital for selecting the right microphone that integrates smoothly with your device.
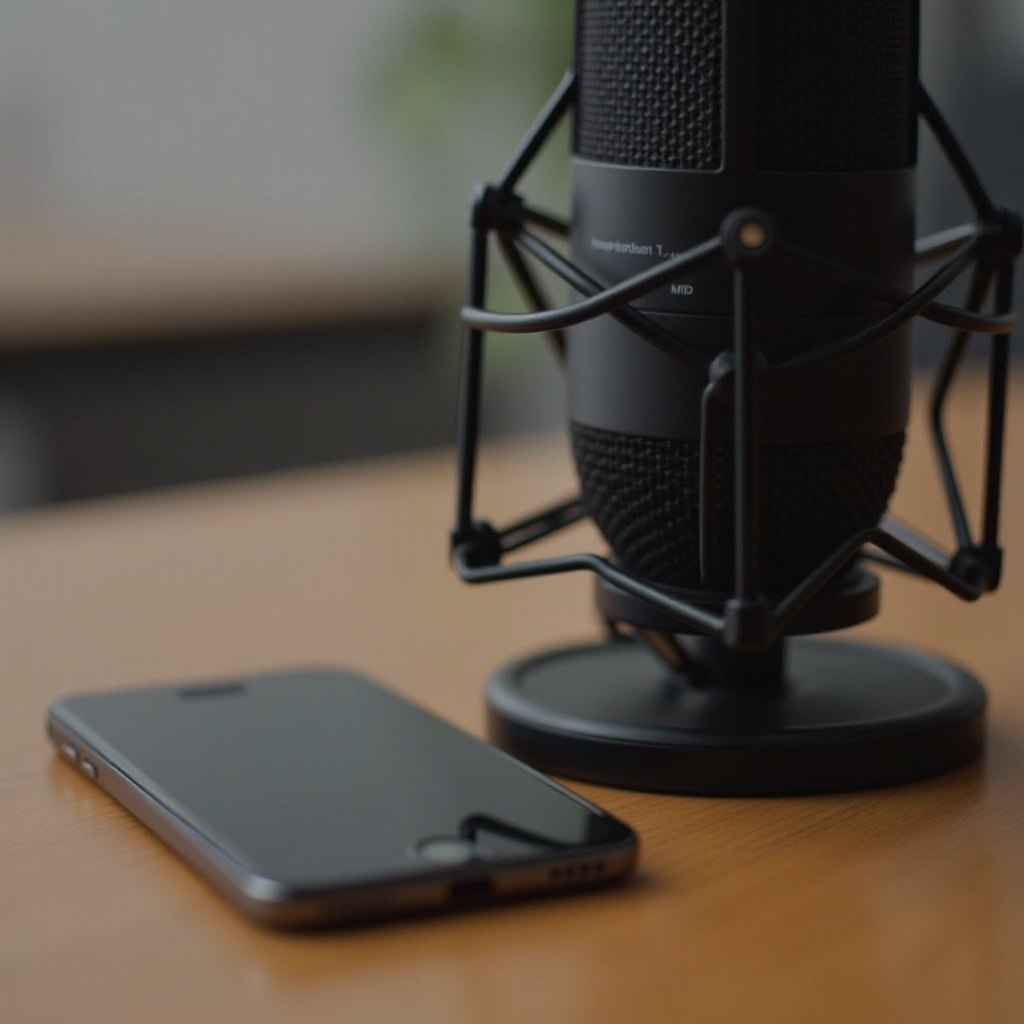
Choosing the Right Microphone for Your iPhone
An integral component of clear and professional audio is selecting the right microphone for your needs. Here, we dive into different types of microphones that are compatible with your iPhone.
Lavalier Microphones
Lavalier microphones are small and lightweight, making them suitable for interviews and presentations. Clipping discreetly to clothing, they capture clear, direct audio and minimize background noise interference. Most come with lengthy cables, providing flexibility in positioning, perfect for versatile recording scenarios.
Shotgun Microphones
Ideal for environments with mixed sound levels, shotgun microphones focus on capturing sound from a specific direction. With superior sound isolation and clarity, these mics are excellent for videographers who need to eliminate background noise and emphasize the primary audio source.
USB-C and Lightning-Compatible Microphones
For those seeking a straightforward connection route, microphones designed with USB-C or Lightning compatibility offer plug-and-play convenience. These microphones connect directly to iPhones, bypassing the need for additional adapters and ensuring optimal audio quality.
Necessary Tools and Adapters for Connecting a Microphone
Depending on your microphone type, connecting it to an iPhone may require specific tools or adapters. Here are some essentials:
- Lightning to 3.5mm Adapter: Utilized for connecting traditional 3.5mm microphones to newer iPhones without headphone jacks.
- USB-C to Lightning Adapter: This is needed for connecting USB-C microphones to iPhones that utilize Lightning ports.
- Audio Interface: Converts the analog signals from high-end microphones into a digital format compatible with iPhones, commonly used in professional recording setups.
Possessing these tools ensures a seamless transition between internal and external audio sources, significantly enhancing your audio recording experience.
Step-by-Step Guide to Connect Your Microphone
Follow these steps to successfully connect a microphone to your iPhone.
Connecting Using a Lightning Adapter
- Insert the Lightning to 3.5mm adapter into your iPhone’s Lightning port.
- Connect your microphone’s 3.5mm plug to the adapter.
- Test by recording audio to confirm the microphone is operational and capturing the desired sound.
Connecting via an Audio Interface
- Attach your microphone to the audio interface utilizing the respective cable.
- Connect the audio interface to the iPhone, often using a Lightning or USB-C cable.
- Turn on the audio interface if it needs power and conduct a sound test to check levels and clarity.
Setting Up a Wireless Microphone
- Activate both the wireless microphone and its receiver.
- Establish a connection with your iPhone through Bluetooth or a wireless dongle.
- Perform a sound check to ensure the microphone is properly capturing audio.
Appropriate connection of your microphone fends off commonplace problems such as static or absence of audio, enhancing your recordings.

Troubleshooting Common Microphone Connection Issues
Even with meticulous setup, issues might still arise. Here’s how to troubleshoot effectively:
- Double-check Connections: Ensure all cables and adapters are securely attached; loose connections often disrupt audio capture.
- Microphone Settings: Visit iPhone settings to verify the microphone is selected as the input source and adjust permissions if necessary.
- Restart Device: A simple restart may resolve lingering connection problems if all else fails.
These tips resolve most connectivity issues, ensuring uninterrupted audio session recordings.

Tips for Optimizing Your iPhone Audio Recording Quality
Achieving prime sound quality on your iPhone can be supported by these suggestions:
- Environment: Choose quiet settings for recording to reduce background noise.
- Microphone Placement: Place the microphone close to the sound source for clearer and more robust audio.
- Utilize Recording Apps: Engage specialized apps that offer advanced features like noise reduction to uplift sound quality.
Following these practices assures crisp and professional-grade audio, elevating your content’s overall appeal.
Conclusion
Connecting an external microphone to your iPhone empowers you with superior audio capabilities, crucial for creating engaging multimedia content. Grasping the intricacies of iPhone audio ports, selecting a suitable microphone, and employing necessary adapters enables enhanced recording capability. By following these comprehensive steps and tips, your recordings will impress with their polished sound quality.
Frequently Asked Questions
How do I connect a USB microphone to my iPhone?
Use a compatible adapter, either a USB-C to Lightning or USB-C to USB adapter, to connect the USB microphone directly to your iPhone.
Can I use Bluetooth microphones with iPhone?
Yes, you can. Simply pair the Bluetooth microphone under your iPhone’s Bluetooth settings and ensure it’s set as the active audio input.
What should I do if my microphone isn’t working on my iPhone?
Ensure the microphone is securely attached, check your iPhone’s settings for microphone permissions, and test with another app to identify if the issue persists.