Introduction
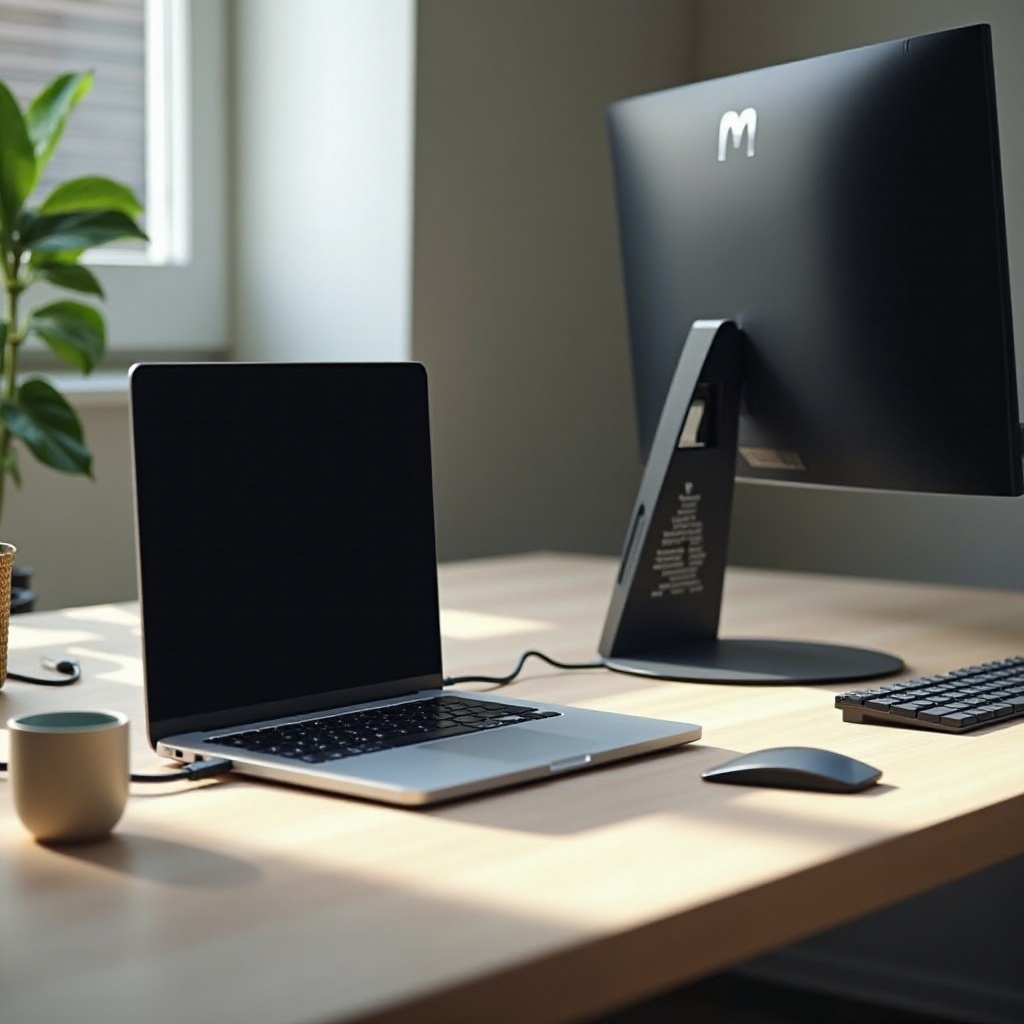
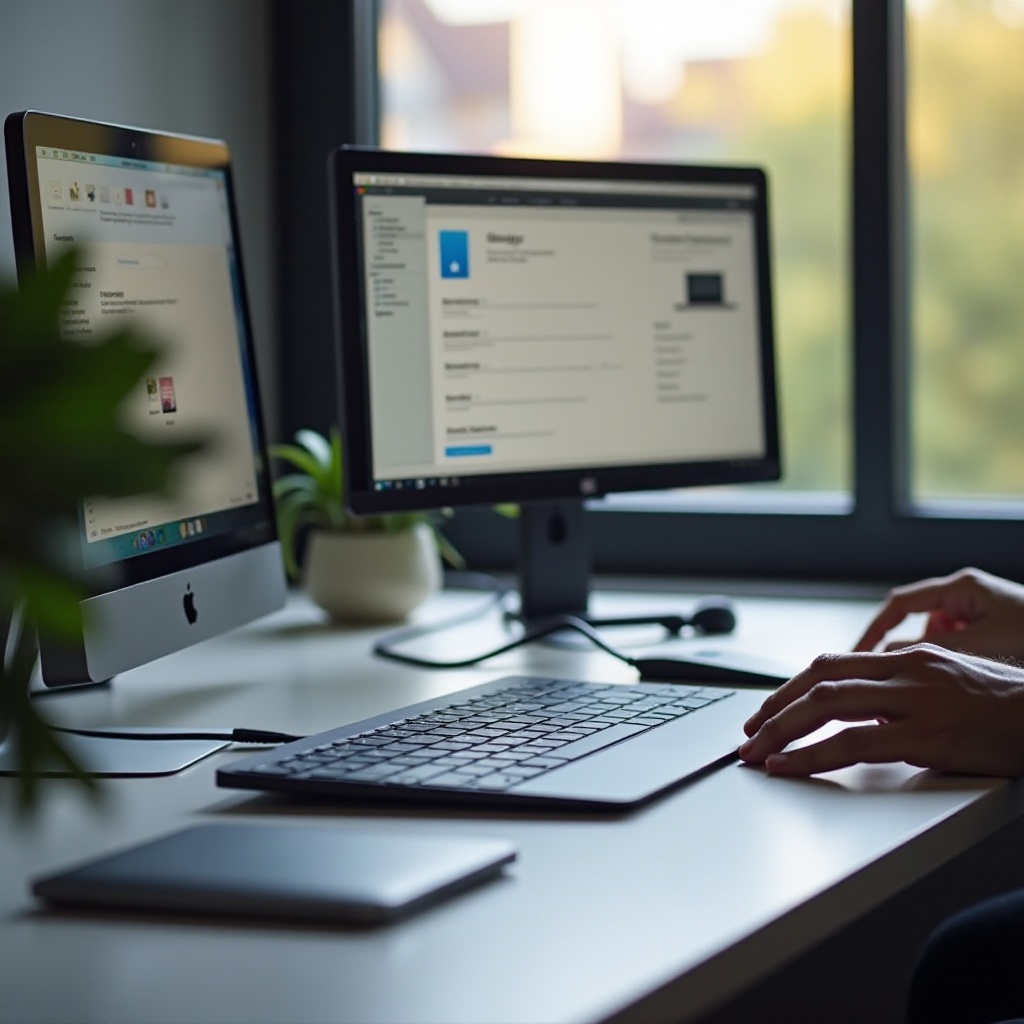
Connecting a MacBook Pro to an external monitor can transform your workspace by providing additional screen space for enhanced productivity and a better viewing experience whether you’re tackling work tasks, designing, or simply enjoying movies. The seamless display allows for multitasking and an improved user interface. Although it may seem challenging initially, connecting a MacBook Pro to a monitor is quite simple with the right tools and instructions. This guide walks you through the connection process, including how to optimize display settings, solve common connection issues, and fully benefit from a dual-monitor setup.

Understanding Your MacBook Pro Ports
Before exploring connection methods, it’s important to identify the types of ports available on your MacBook Pro as this varies between models.
- Thunderbolt 3/4 (USB-C): These are prevalent in newer models, supporting connections like DisplayPort, HDMI, and VGA through adapters.
- HDMI: A feature of some older MacBook Pros, facilitating a direct connection to HDMI interfaces on monitors and TVs.
- Mini DisplayPort: Found in models predating 2016, used with corresponding adapters for display connections.
Identifying these ports helps you determine which cables and adapters are required to connect your monitor.
Selecting the Right Monitor and Cables
The type of monitor you choose impacts your viewing experience enormously. Look for monitors offering high resolution, appropriate sizes, refresh rates, and ports compatible with your MacBook Pro.
When picking cables, ensure compatibility with your MacBook Pro’s ports and your monitor’s inputs:
- HDMI Cables: Provide direct connections for HDMI-compatible monitors.
- Thunderbolt Cables: Ensure high-speed data transfers and support high-resolution displays like 4K.
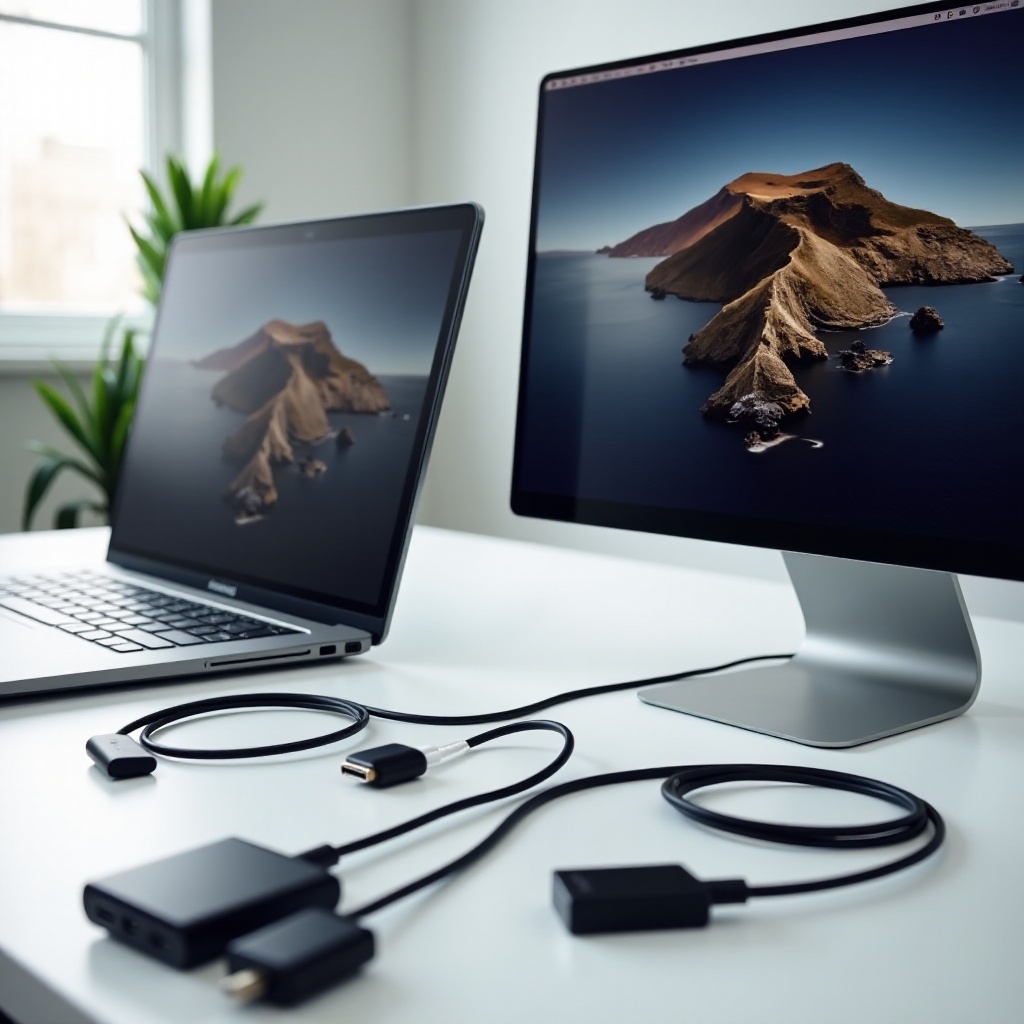
- USB-C to HDMI Adapters: Necessary for MacBook Pros with only Thunderbolt/USB-C ports and monitors that use HDMI.
Equipped with the correct monitor and cables, you’re ready to make the connection.
Setting Up the Connection
After acquiring suitable equipment, let’s proceed to establish the connection based on the ports your MacBook Pro has.
Using a Thunderbolt Connection
- Connect the Thunderbolt cable between your MacBook Pro and the monitor.
- Turn on both your monitor and MacBook Pro.
Thunderbolt cables offer a straightforward method and are capable of high-quality display connections.
Connecting via HDMI
- Attach an HDMI cable from your MacBook Pro’s HDMI port to your monitor’s HDMI input.
- Ensure both devices are powered.
The HDMI connection requires no additional adapters, highlighting its ease of use.
Using USB-C Adapters
- Connect a USB-C to HDMI adapter to your MacBook Pro’s USB-C/Thunderbolt port.
- Use an HDMI cable to link the adapter and monitor.
- Power on your equipment.
This option suits MacBook models limited to USB-C ports.
Configuring Display Settings on macOS
With your monitor now connected, configuring the display settings on your MacBook Pro ensures optimal usage.
Adjusting Screen Resolution
- Access ‘System Preferences.
- Click on ‘Displays.
- Select ‘Default for display’ for optimal settings or ‘Scaled’ for custom resolutions.
Adjusting resolution is essential for clarity and maximizing your screen’s functionality.
Arranging Displays
- Navigate to ‘Displays’ in ‘System Preferences.
- Select ‘Arrangement.
- Adjust the display icons to mimic your physical monitor layout on your desk.
Proper arrangement makes switching between screens seamless and user-friendly.
Calibrating Color and Brightness
- Open ‘Displays’ in ‘System Preferences.
- Use the ‘Color’ tab for calibration adjustments.
- Adjust brightness with the slider or your monitor’s controls.
Proper calibration provides visually appealing displays and prevents eye fatigue.

Troubleshooting Common Issues
Challenges may arise during the setup, but these are generally easy to troubleshoot:
No Signal Detected
- Double-check cable connections.
- Confirm the monitor’s input setting corresponds with your connection.
- Restart your MacBook Pro and reconnect cables.
Display Flickering
- Inspect cables and adapters for damage.
- Change the refresh rate in ‘System Preferences’ under ‘Displays.
Issues with Image Quality
- Utilize high-quality cables and adapters.
- Configure resolution settings to align with monitor capabilities in ‘System Preferences.

Tips for Optimizing Dual-Monitor Setup
A dual-monitor configuration can significantly enhance workflow efficiency. Here’s how to optimize it:
Ergonomic Setup Advice
Adjust monitor height to eye level using stands to maintain an ergonomic and comfortable view angle.
Using Software Tools
Employ tools like Magnet or Divvy for effective window management, enhancing usability across dual screens.
Energy Efficiency Tips
To save energy, switch off monitors when not in use and configure settings to reduce power usage for prolonged device lifespans.
Conclusion
By connecting your MacBook Pro to an external monitor, you stand to gain improved productivity and a rich visual interface. Selection of compatible equipment, accurate connection setup, and proper display configuration ensure a smooth dual-monitor experience. Utilize this guide to address any challenges that may arise, and you’ll maintain an efficient and enjoyable digital workspace.
Frequently Asked Questions
Can I connect multiple monitors to my MacBook Pro?
Yes, depending on the model and available ports. Additional adapters and cables will be necessary for multiple connections.
Why is my monitor not displaying after connection?
Ensure cables are connected and the monitor is on the correct input setting. Restart your devices and verify all are powered up.
Do I need specific software to manage dual monitors?
Though not mandatory, software like Magnet or Divvy can improve window management across monitors.