Introduction
Encountering the ‘Audio Output Device Not Installed’ error on Windows 10 can be a frustrating experience, especially when you’re eager to listen to music, watch videos, or engage in audio calls. This problem often stems from configuration issues or missing drivers, creating an obstacle for many users. Thankfully, you don’t need extensive technical expertise to fix this issue. This article will guide you through simple yet effective steps to address the error, restoring normal audio functionality. From quick preliminary checks to in-depth exploration of system settings, follow our comprehensive guide to tackle this annoying problem efficiently.
Understanding the ‘Audio Output Device Not Installed’ Error
The ‘Audio Output Device Not Installed’ error message on Windows 10 indicates that the system is unable to detect an audio device. The culprits are often outdated or missing audio drivers, which are vital for seamless communication between the operating system and the audio hardware. Sometimes, misconfigured settings can also lead to this issue, preventing the system from recognizing the audio hardware correctly. By understanding the root causes, you take the first step towards resolving this problem.
Preliminary Checks
Before jumping into complex solutions, you can perform these simple checks:
-
Physical Connections: Examine if your speakers and headphones are securely connected to the computer.
-
Device Power: Confirm if your audio device is powered and switched on, if necessary.
-
Volume Levels: Review the volume settings on both your computer and audio device.
-
Operating System Updates: Keep Windows 10 updated to avoid compatibility issues caused by outdated software.
Addressing these basic factors can occasionally fix the error without any extensive steps. If the issue persists, proceed to the subsequent sections for more detailed solutions.
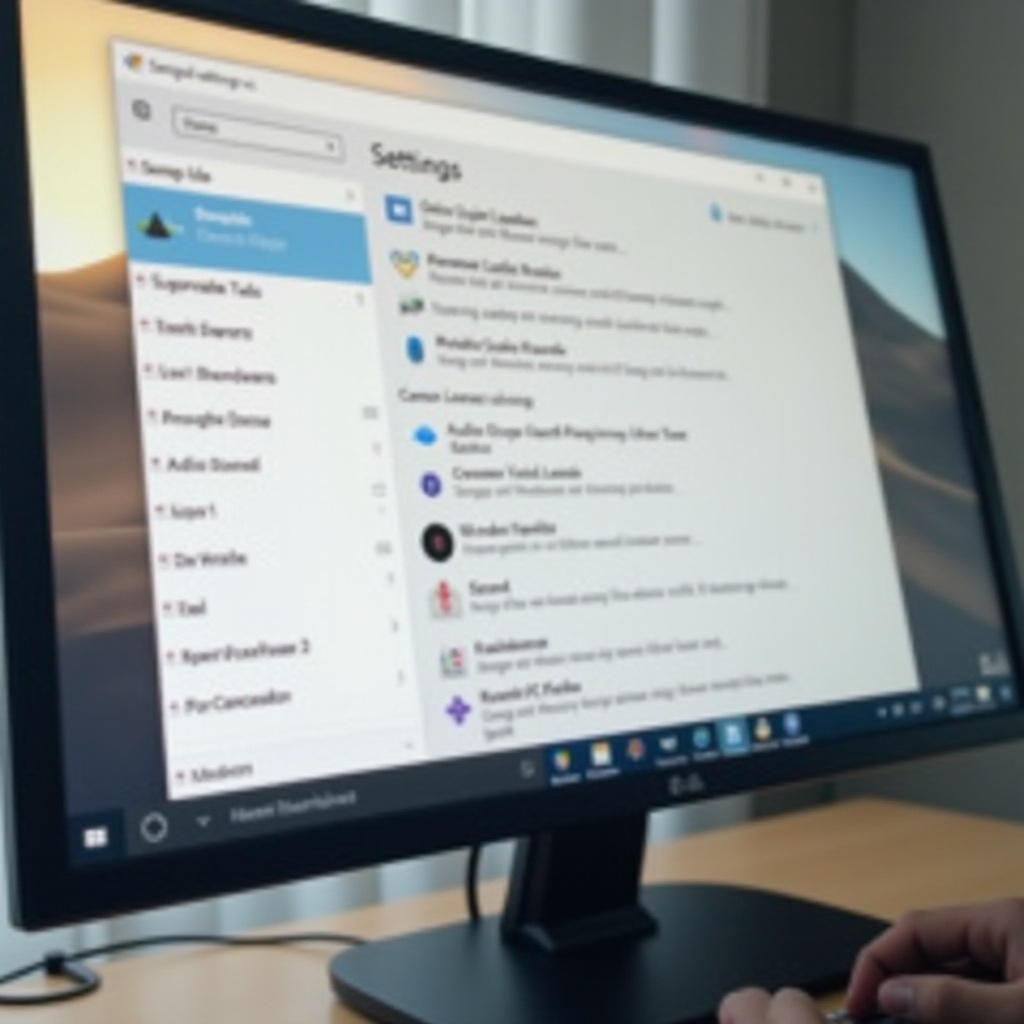
Checking and Updating Audio Drivers
The absence or corruption of drivers often results in the unrecognized audio devices error. Below are methods to update your drivers:
How to Update Drivers via Device Manager
-
Open the Device Manager by right-clicking on the Start menu.
-
Extend the ‘Sound, video and game controllers’ section.
-
Right-click your audio device and select ‘Update driver.
-
Choose ‘Search automatically for updated driver software.
-
Follow the on-screen instructions and reboot your computer if prompted.
Using Windows Update for Driver Updates
-
Open Settings > Update & Security.
-
Click ‘Windows Update’ and then ‘Check for updates.
-
Install any discovered updates and restart your system.
Often, updating drivers can resolve issues related to audio recognition by ensuring hardware and operating system compatibility.
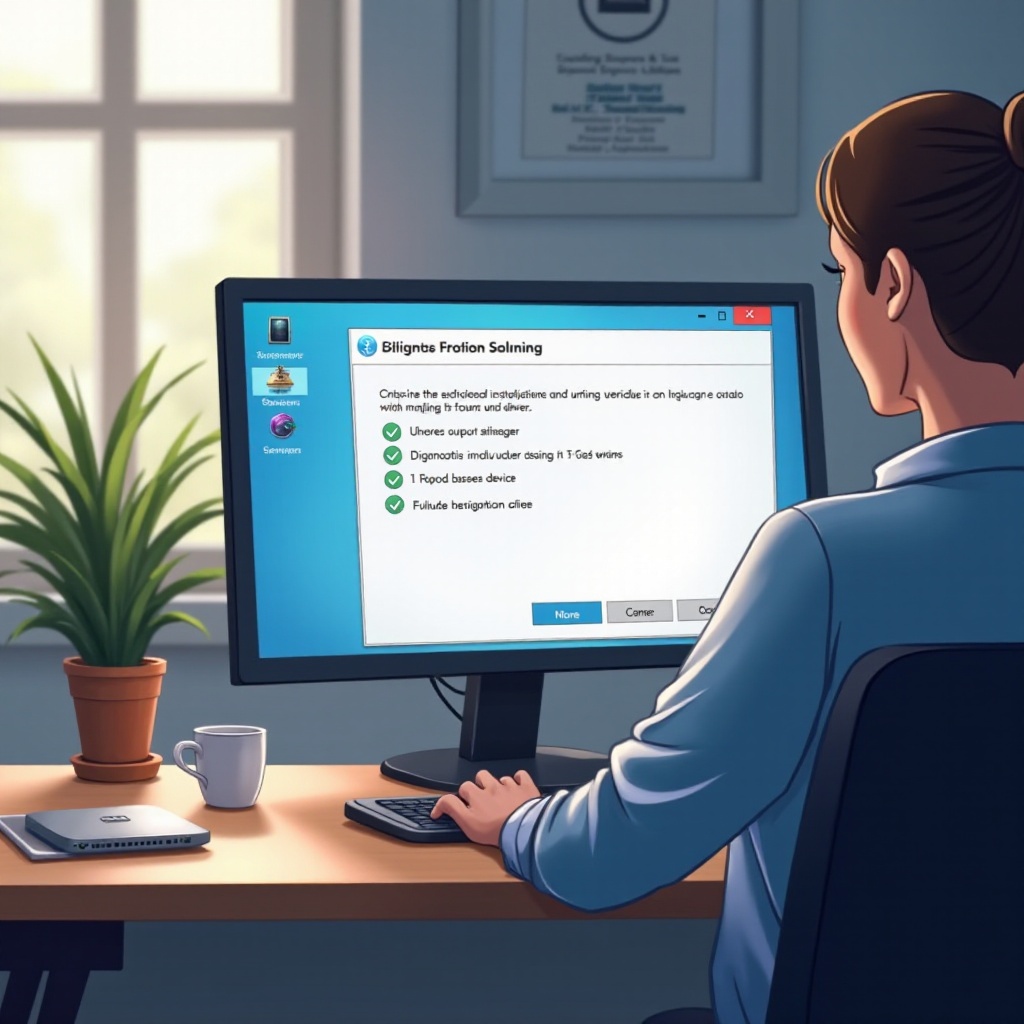
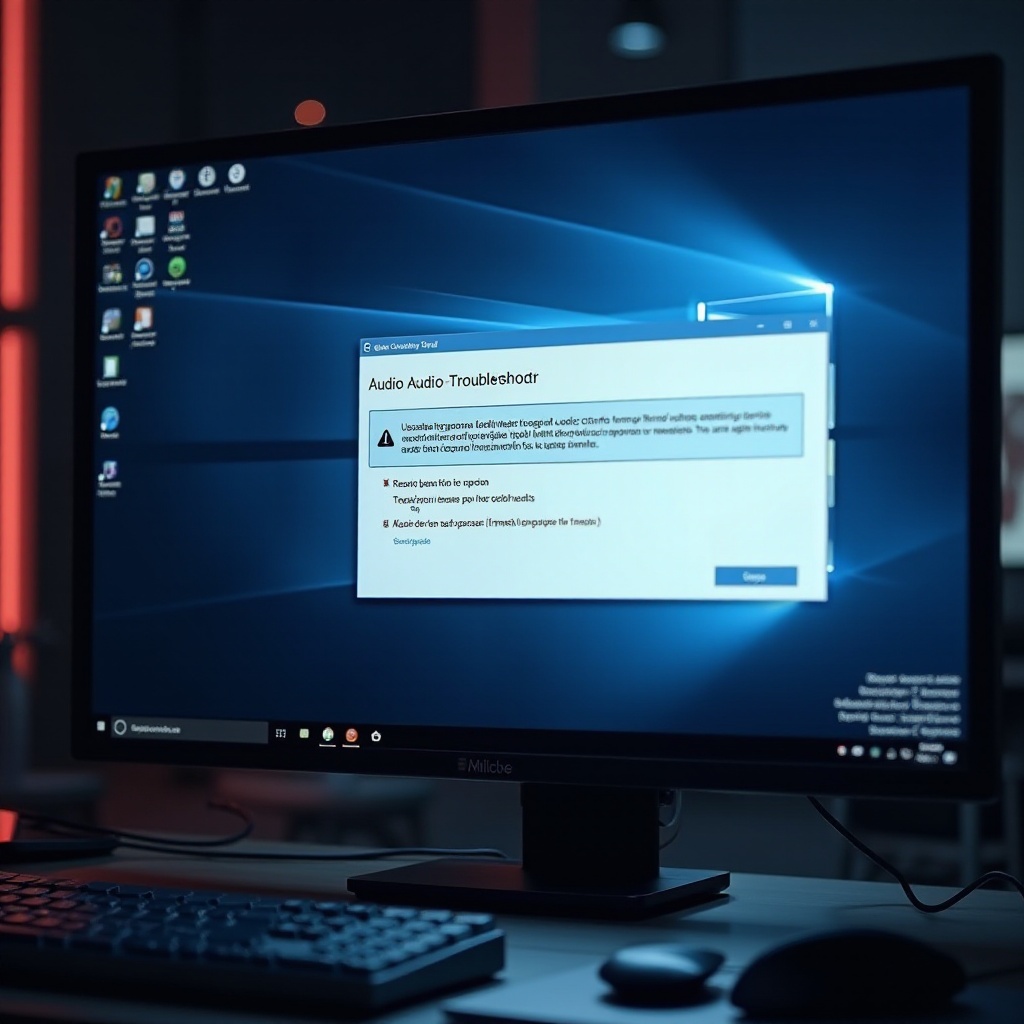
Utilizing Windows Troubleshooter
Windows 10 provides a built-in troubleshooter to help diagnose and correct audio problems:
-
Open Settings and choose ‘Update & Security.
-
Navigate to ‘Troubleshoot’ from the left menu.
-
Under ‘Get Up and Running,’ click ‘Playing Audio’ and select ‘Run the troubleshooter.
-
Adhere to the prompts to identify and resolve issues.
The Windows Troubleshooter can address configuration problems causing an audio device not to install.
Advanced Troubleshooting Steps
If the basic solutions do not work, there may be a need for advanced steps:
Uninstalling and Reinstalling Audio Drivers
-
Open Device Manager and go to ‘Sound, video and game controllers.
-
Right-click your audio device and select ‘Uninstall device.
-
Restart your computer; Windows will try to reinstall the driver automatically.
Rolling Back Drivers to Previous Versions
-
In Device Manager, find the ‘Sound, video and game controllers’ section.
-
Right-click your audio device and click ‘Properties.
-
Under the ‘Driver’ tab, press ‘Roll Back Driver.
-
Follow on-screen prompts and reboot your system.
Reinstalling or reverting drivers helps rectify mismatches between hardware and drivers.
Checking Windows System Settings
Ensuring proper system settings is crucial for solving audio problems:
Ensuring the Audio Device is Enabled
-
Right-click the speaker icon in the taskbar and select ‘Sounds.
-
Open the ‘Playback’ tab.
-
Right-click within the playback list and choose ‘Show Disabled Devices.
-
Enable your audio device if it is disabled.
Setting Default Playback Devices
-
Go to the ‘Playback’ tab in Sound settings.
-
Right-click your preferred audio device and select ‘Set as Default Device.
These adjustments to system settings help ensure your audio hardware is recognized and prioritized.
Additional Tips to Maintain Good Audio Health
To prevent future audio device issues:
- Regularly update your system and drivers.
- Avoid unnecessary software installation that might cause conflicts.
- Conduct periodic hardware connection and settings checks.
Conclusion
Fixing the ‘Audio Output Device Not Installed’ error on Windows 10 involves a combination of basic checks, driver updates, and correcting system settings. By following this guide, you can effectively troubleshoot and solve this common audio issue, restoring sound functionality. If the problem continues, seeking professional technical support could be necessary.
Frequently Asked Questions
Why is my audio device not recognized in Windows 10?
Your audio device may not be recognized due to outdated drivers, incorrect system settings, or hardware connectivity issues.
How do I reinstall my audio device on Windows 10?
Uninstall the audio device via Device Manager, then restart your computer. Windows should automatically reinstall the driver.
Can a Windows update cause audio output problems?
Yes, new updates can occasionally introduce compatibility issues with certain audio drivers. Keeping drivers updated generally resolves these conflicts.