Introduction
You grab a screenshot to save a receipt, report a bug, or show a friend what to tap. The next step matters: clean edits make your point clear and protect your privacy. This guide shows you how to edit screenshot on iPhone with speed and confidence. You will master Markup, learn when to crop or rotate, how to redact, and how to share or store your results. You will also learn how to capture Full Page screenshots, annotate PDFs, and polish images in Photos. If you work on repeat tasks, you will see simple automations that save time. Each section builds on the last, so you can follow along or jump to what you need now.
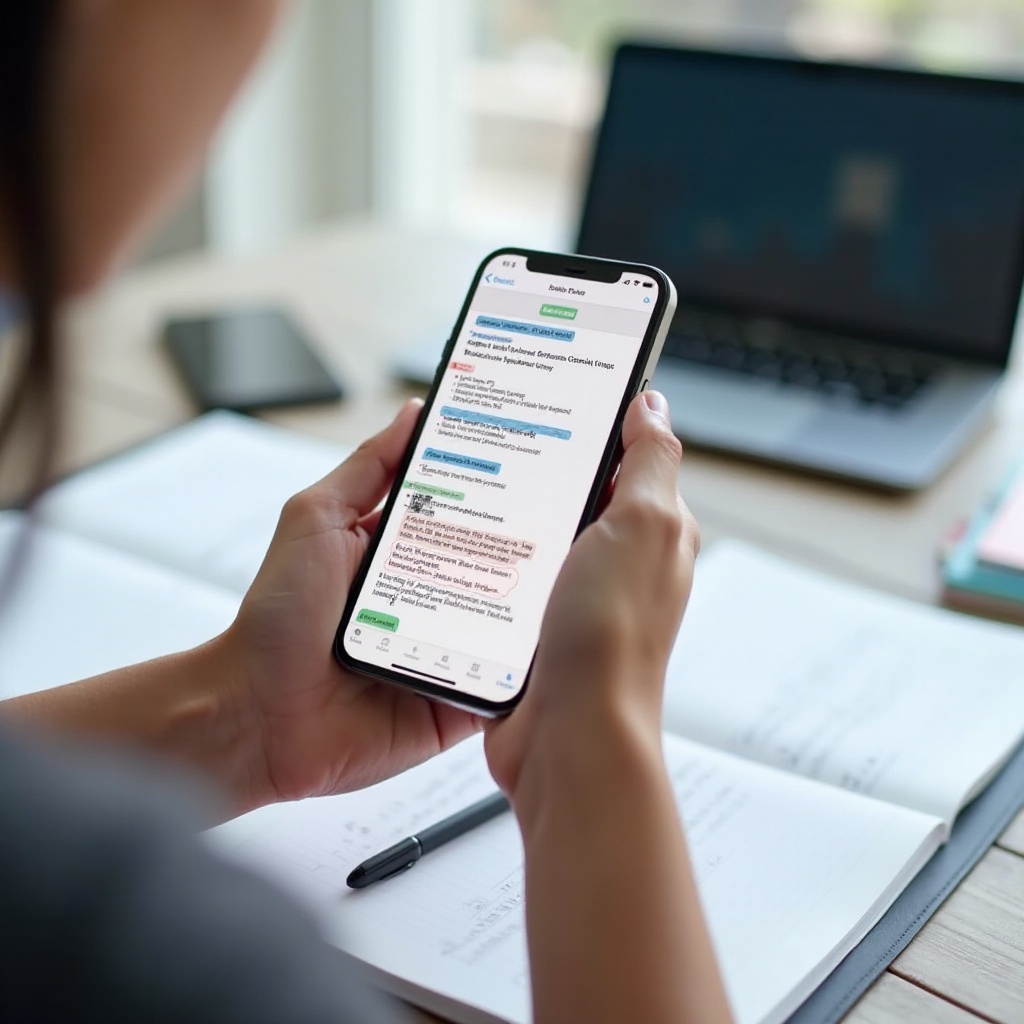
Capture a Screenshot on Any iPhone
You cannot edit without a clean capture. Start with the right button combo or set up a touch gesture if hardware buttons feel awkward. After you capture, a thumbnail appears. Tap it fast to open the editor and cut your editing time in half. This step sets you up for smooth Markup work in the next section.
Button combinations for Face ID and Touch ID models
Use the hardware buttons you have:
- Face ID models: Press Side button + Volume Up at the same time. Release quickly. The screen flashes. A thumbnail appears in the lower-left corner.
- Touch ID models with Side button: Press Home button + Side button together.
- Touch ID models with Top button: Press Home button + Top button together.
- For precise timing, hold your phone with both hands. Use your thumb for the Side or Top button and your index finger for Volume Up or Home.
Tips:
– Turn off tap sounds and reduce motion if you find timing tricky.
– Lower screen brightness to avoid glare in bright light.
AssistiveTouch and on-screen controls for accessibility
If buttons are hard to press, enable AssistiveTouch:
1) Go to Settings > Accessibility > Touch > AssistiveTouch.
2) Turn on AssistiveTouch.
3) Tap Customize Top Level Menu > add Screenshot.
4) Tap the on-screen AssistiveTouch button > Screenshot to capture.
Benefits:
– No button timing.
– Works one-handed.
– Ideal when your case or grip blocks buttons.
Back Tap and Siri Shortcuts for hands-free screenshots
You can take screenshots with a tap or a voice command:
- Back Tap: Settings > Accessibility > Touch > Back Tap. Set Double Tap or Triple Tap to Screenshot. Then tap the back of the phone to capture.
- Siri Shortcut: In the Shortcuts app, build a simple flow that files the latest screenshot. Then say, ‘Hey Siri, run my screenshot shortcut.
These options help if you want fast captures during demos, games, or help calls.
Open the Screenshot Editor Fast
Your edit starts the moment you tap the floating thumbnail. If you miss it, you can still edit from Photos or Files. Learn both paths, so you never lose time. With fast access handled, we can explore the Markup tools that power clean edits.
Tap the floating thumbnail to enter Markup instantly
The thumbnail appears for a few seconds. Tap it to open Markup right away. From here, you can draw, add text, crop, and share without saving to your library. If you decide not to keep the image, tap Done > Delete Screenshot. This flow keeps your Photos clean and reduces clutter.
Reopen screenshots from Photos for later editing
If the thumbnail disappears, do this:
- Open Photos > Albums > Recents or Media Types > Screenshots.
- Select the screenshot.
- Tap Edit > Markup (the pen-tip icon) to annotate.
- Tap Done when finished, then Save.
This path helps when you capture many shots first and edit later.
Access PDF Full Page captures from the Files app
When you take a Full Page screenshot, you can save it as a PDF to Files:
- After capture, tap the thumbnail.
- Switch to Full Page at the top.
- Tap Done > Save PDF to Files.
- Open Files, find the PDF, tap the Markup icon to annotate, sign, and share.
You now have two editing modes: Markup on images in Photos and Markup on PDFs in Files.
Master the Markup Toolbar
Markup gives you a powerful, simple set of tools. Learn what each tool does so you can draw clearly, make neat shapes, and fix mistakes fast. The more you know your tools, the faster your edits go. Once you understand the basics, you can add labels and pointers that make your message obvious.
Pen, highlighter, and pencil basics
- Pen: Solid strokes for clear lines and underlines.
- Highlighter: Transparent color for emphasis without hiding content.
- Pencil: Textured strokes for sketch-like notes.
Tap a tool to select it. Tap again to change thickness. Use consistent colors for a clean look, such as red for errors and blue for actions.
Eraser, lasso selection, and ruler for straight lines
- Eraser: Tap to remove strokes. Use object eraser (if available) to remove a single item.
- Lasso: Circle drawings to move or resize them without redoing your work.
- Ruler: Place the ruler on-screen to draw straight lines at specific angles. Pinch to rotate it. This is useful for precise underlines and callouts.
Color picker, opacity, and stroke weight for clarity
- Color picker: Choose from presets or the full spectrum. Use high-contrast colors over your background.
- Opacity: Lower opacity for highlights, raise it for borders and arrows.
- Stroke weight: Thick lines read well on dark screenshots; thin lines look cleaner on light backgrounds.
Undo, redo, and zoom for precise control
- Tap Undo to step back. Tap Redo if you change your mind.
- Pinch to zoom in for small details, then pan around.
- Take your time with zoom when drawing small arrows or aligning shapes.
Annotate Clearly: Text, Shapes, Arrows, and Magnifier
With the basics set, you can add clear labels and guides. Clean annotation keeps the focus on the message. Avoid clutter. Use a small set of elements and repeat them. After you mark up content, you will frame it neatly with crop and rotate tools.
Add legible text boxes with fonts, sizes, and backgrounds
1) Tap the plus button and choose Text.
2) Double-tap the placeholder to edit.
3) Tap the Aa icon to change font, size, and alignment.
4) Toggle a background for contrast if needed.
Tips:
– Keep labels short.
– Use mixed case for readability.
– Place text near the target, not on top of it.
Drop arrows, rectangles, circles, and callouts for emphasis
1) Tap the plus button and pick a shape: arrow, rectangle, circle, or callout.
2) Drag corners to resize.
3) Tap the style icon to set fill, border, and arrowheads.
Use:
– Arrows to point at a button.
– Rectangles to frame a section.
– Circles to spotlight icons.
– Callouts to add short tips.
Use the Magnifier to spotlight tiny details
The Magnifier enlarges small text or icons:
1) Tap the plus button and choose Magnifier.
2) Drag the lens over the detail.
3) Use the blue dot to resize and the green dot to adjust zoom.
This tool helps when you want to show a tiny toggle or a menu item without cropping too tight.
Save and reuse signatures when needed
If you sign forms or approvals on-screen:
1) Tap the plus button and choose Signature.
2) Add a signature with your finger or a stylus.
3) Save it for reuse and drag it into place.
Use a darker color and modest size to keep the signature readable without overpowering the image.
Crop, Rotate, and Straighten for Cleaner Screenshots
Before you share, frame your image. Cropping removes noise. Rotation and straightening fix tilted frames and improve focus. Clean framing also reduces file size. With a crisp frame in place, you will be ready to hide sensitive details.
Freeform crop for tight framing
- Tap the crop tool.
- Drag edges to remove status bars or extra space.
- Keep the subject centered or aligned with edges for balance.
Aim for:
– Minimal empty space.
– Enough context to make directions clear.
Rotate and straighten within Markup
- Use rotation controls when your screenshot includes rotated content, such as landscape screens captured in portrait.
- Align text or UI elements so lines run parallel to image edges. Straight lines read as professional.
Perspective and alignment adjustments in Photos
For advanced framing:
– Open the screenshot in Photos and tap Edit.
– Use straighten and perspective sliders.
– Tap Done, then return to Markup for annotation.
This two-step approach gives you precise geometry and clear labels.
Redact Sensitive Information Safely
Privacy matters. You must hide account numbers, addresses, or faces before you share. Do not rely on translucent highlights. Use solid blocks or trusted blur tools. Once you cover private data, you can handle long content with Full Page capture.
Use filled shapes and solid color blocks for true redaction
- Add a rectangle shape.
- Set it to fill with solid black or another solid color.
- Cover the sensitive field completely.
- Zoom in to check edges.
Solid fill prevents content from showing through in exports.
Blur or pixelate with trusted third‑party apps when required
If you need blur or mosaic:
– Use privacy-focused apps with reliable blur tools.
– Apply enough blur or pixel size so you cannot read text at any zoom level.
– Save a copy, then share.
Blurs look softer than blocks and help for photos, but they must be strong enough to hide details.
Test redactions by exporting and zooming
Always verify:
1) Export the image to Photos or Files.
2) Open it and zoom in to the maximum.
3) Confirm nothing is readable.
If anything shows, add another layer of fill or increase blur intensity.
Avoid translucent highlights that reveal data
Highlighters look neat but often leave text readable. Avoid using them to hide sensitive content. If you prefer a styled look, combine a solid fill with a small label such as Redacted.
Edit Full Page Screenshots and PDFs on iPhone
Some guides, receipts, or chat threads run long. Instead of stitching images, use Full Page capture and PDFs. You can annotate everything with Markup. After you manage long pages, you can make quick finishing touches in the Photos app for extra clarity.
Capture long pages in Safari and supported apps
- Take a normal screenshot.
- Tap the thumbnail.
- At the top, tap Full Page.
- Scroll the preview to review content.
- This works in Safari and many system apps that display scrollable content.
Save Full Page as a PDF to the Files app
- Tap Done.
- Choose Save PDF to Files.
- Pick a folder and name it. Use a clear naming pattern such as ProjectName_Date.pdf.
Annotate PDFs with Markup and share securely
- Open Files, tap your PDF.
- Tap the Markup icon to add shapes, text, and signatures.
- When finished, tap Share.
- Choose a secure channel for sensitive content.
Make Finishing Touches in Photos (Exposure, Color, Sharpness)
Sometimes screenshots look dull or soft, especially after cropping or compression. The Photos app can polish them before you share. These quick tweaks improve readability and help your annotations stand out. Once the image looks sharp, you can save, share, and organize it wisely.
Auto-Enhance for quick polish
- Open the screenshot in Photos.
- Tap Edit.
- Tap Auto-Enhance, the magic wand.
- Review the change. If it improves readability, keep it.
Adjust brightness, contrast, and saturation
- Increase brightness slightly to lift dark UI.
- Raise contrast to make text pop.
- Adjust saturation if color-coded elements look washed out or too vivid.
Keep changes subtle. Aim for clarity, not a heavy filter.
Sharpen and reduce noise for crisp text
- Increase sharpness a touch to define text edges.
- Reduce noise if artifacts appear after resizing or sharing.
- Avoid over-sharpening; edges can look harsh.
Save, Share, and Organize Screenshots
After editing, choose the right save location and share target. Clear choices keep your Photos tidy and your files easy to find later. With organization in place, you can add automations that speed up frequent tasks.
Save to Photos vs Save to Files vs Copy and Delete
- Save to Photos: Best for quick access, albums, and simple sharing.
- Save to Files: Best for PDFs, work projects, and cloud folders across devices.
- Copy and Delete: Copies the image to your clipboard and removes the local version. Paste it into a chat or doc to avoid clutter.
AirDrop, Messages, Mail, and third-party share targets
- AirDrop: Fast, local sharing to nearby Apple devices.
- Messages: Great for quick collaboration. Use labels and arrows to guide teammates.
- Mail: Ideal when you need a subject line and context.
- Third-party apps: Share directly to project tools, note apps, or bug trackers.
Use albums, tags, and iCloud Drive folders to stay organized
- Create a Screenshots album and sub-albums by project.
- Use file names like App_Bug_01.png or Receipt_Store_Date.pdf.
- In Files, group PDFs and images in the same project folder to keep context.
Power-User Automations and Shortcuts for Screenshot Editing
If you repeat tasks, automate them. Shortcuts and gestures can capture, rename, resize, and file your screenshots for you. These small wins add up over a day of support tickets, bug reports, or tutorials. With automation ready, you will still need a few fixes for common problems.
Shortcuts that rename, resize, and file screenshots automatically
- In Shortcuts, create a workflow:
1) Get Latest Screenshot.
2) Resize Image, optional.
3) Save File to a project folder with a date in the name.
4) Share or open the file. - Add this shortcut to your Share Sheet for one-tap filing.
Back Tap to trigger capture and open Markup
- Set Back Tap to Screenshot.
- Pair Back Tap with an automation that opens the latest screenshot in Markup, if your setup supports it.
- You get a quick capture-to-edit pipeline with two taps.
Combine Markup with Quick Actions and Share Sheet workflows
- From the Share Sheet, run a shortcut that:
- Converts images to PDF.
- Reduces file size for email.
- Attaches to a template email with a prefilled subject such as Bug Report.
These steps cut your edit-to-share time significantly.
Troubleshooting and Common Fixes
Things go wrong. Options vanish. Files feel missing. Use these quick checks to get back on track. Once you learn these fixes, you can focus on polish and best practices in the final section.
Cannot find Full Page option in the editor
- Full Page appears only for scrollable content in supported apps, such as Safari.
- If you do not see it, try:
- Capturing from Safari instead of a third-party browser.
- Scrolling the page first to load content.
- If not supported, consider a third-party scroller or save as PDF from the app and annotate in Files.
Screenshot thumbnail disappeared before you tapped it
- Open Photos > Screenshots to edit later.
- Practice tapping the thumbnail quickly; it shows for just a few seconds.
- If you prefer a slower workflow, ignore the thumbnail and edit from Photos when ready.
Markup tools missing or grayed out
- If you opened a format that does not support some tools, convert or save a copy first.
- For PDFs in Files, ensure you tapped the Markup icon, not only Preview.
- Restart the app if tools vanish. If needed, restart your iPhone.
Export quality, file formats, and where to find your files
- Photos exports screenshots as PNG by default, which keeps text crisp.
- PDFs live in Files where you save them. Use search to find names or types.
- If you need smaller images, use Shortcuts or a photo editor to reduce size before sharing.
Pro Tips and Best Practices for Clean, Readable Edits
You want your edits to look sharp and consistent. A few habits raise the quality of every screenshot you share. With these practices, you close the loop and send clear, professional screenshots every time.
Keep annotations minimal and consistent
- Use one color for errors and another for actions.
- Limit yourself to one font and two sizes.
- Remove any markup that does not support your point.
Use high-contrast colors for accessibility
- Pick colors that stand out on light or dark UIs.
- Avoid red and green combinations for color-blind readers.
- Add a solid background to text if the screen is busy.
Maintain alignment and spacing for a professional look
- Align text with the edges of buttons or panels.
- Keep equal spacing between labels and shapes.
- Zoom in to fine-tune placements.
Conclusion
You now know how to edit screenshot on iPhone from capture to share. You can open Markup fast, use the right tools, and add neat labels that help people act. You can crop and rotate for clarity, hide private data, and export to the right place. You can capture Full Page content and annotate PDFs. If you repeat tasks, you can automate steps to save time every day. Keep your edits simple, consistent, and readable. With a few solid habits, every screenshot you send will land your message and keep your privacy intact.
Frequently Asked Questions
How do I blur or pixelate parts of a screenshot on iPhone?
Markup does not include a blur tool. For soft redaction, open the screenshot in a trusted third-party app with blur or mosaic. Apply a strong blur so nothing is readable at maximum zoom. For the fastest, most secure redaction, use a solid filled rectangle in Markup. Always export and zoom to verify before you share.
Why do I not see the Full Page option when I take a screenshot?
Full Page appears for scrollable content in supported apps such as Safari. If you capture in an app that does not support Full Page, the option will not show. Try capturing in Safari, or export the content as a PDF and annotate it in the Files app. Scroll the page first so all sections load.
Are my redactions permanent once I save and share the image?
Solid shapes added with Markup are baked into the exported image or PDF. Other viewers cannot remove them in normal workflows. Still, always test by exporting and zooming in to confirm nothing shows through. Avoid semi-transparent highlights for redaction. For sensitive documents, prefer solid fills or strong blur and share through secure channels.