Introduction
Connecting a laptop to a TV can significantly enhance your viewing experience, whether you’re watching movies, presenting slideshows, or playing games. This comprehensive guide will walk you through various ways to link your laptop to your TV. We’ll explore both wired solutions, like HDMI and VGA, and wireless methods for seamless streaming.
Understanding Connection Ports
To effectively connect your devices, it’s crucial to first identify the ports available on your laptop and TV. This will determine the best connection method for your setup.
HDMI: The Go-To Option
HDMI ports are widely used in modern electronics due to their capability to transmit both audio and video using a single cable, making them a convenient and straightforward choice. Most laptops and TVs feature these ports, providing a hassle-free way to connect your devices and enjoy high-definition content.
VGA: The Old-School Method
Some older devices may still use VGA ports, which are only capable of transmitting video. To use VGA, you’ll need an auxiliary cable for audio output. While not as advanced as HDMI, VGA can still be a reliable choice if you’re working with older equipment.
USB-C and Thunderbolt: Modern Alternatives
For new devices, USB-C and Thunderbolt ports offer an efficient alternative, supporting high-quality audio and video. These ports require an adapter but are versatile, providing an effective way to connect various gadgets.
Step-by-Step Wired Connection Guide
Using cables to connect your laptop to your TV is generally more reliable, with minimal signal delay. Here’s how you can set up wired connections for optimal performance.
Connecting with an HDMI Cable
- Locate the HDMI ports on your laptop and TV.
- Insert one end of the HDMI cable into your laptop and the other into your TV.
- Use your TV’s remote to switch to the appropriate HDMI input.
- Open ‘Display settings’ on your laptop, choose whether to duplicate or extend the display, and adjust the resolution as necessary.
Using a VGA Adapter for Older TVs
- Identify the VGA ports on your laptop and TV.
- Connect the VGA cable from the laptop to the TV, and use an additional cable for audio.
- Go to your laptop’s display settings to adjust the screen output.
DisplayPort for High-Resolution Outputs
If your devices support DisplayPort, you can achieve high-definition visuals:
1. Connect the DisplayPort cable between your laptop and TV.
2. Navigate to the correct source input on your TV.
3. Configure display settings on your laptop to match the TV’s resolution.
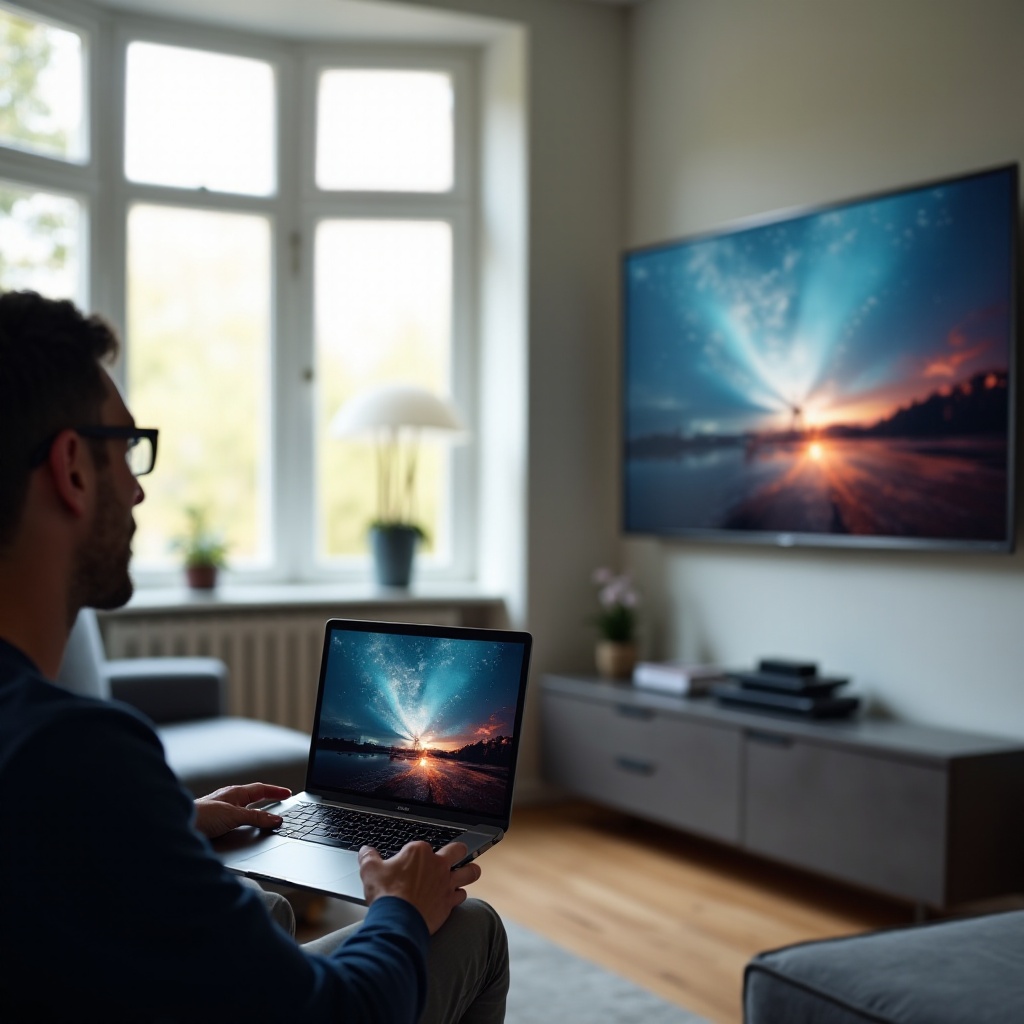
Exploring Wireless Connection Options
If you’d rather avoid cables, several wireless solutions allow for easy screen sharing. These methods offer flexibility and convenience for everyday use.
Screen Mirroring with Wi-Fi Direct
Wi-Fi Direct facilitates direct connections without a router:
1. Activate Wi-Fi Direct on your TV from the settings menu.
2. From your laptop, go to ‘Connect to a wireless display’ in the settings, and select your TV.
3. Follow the prompts to start mirroring your screen wirelessly.
Apple AirPlay for macOS Users
For Apple users, AirPlay offers an integrated streaming experience.
1. Ensure your laptop and TV are on the same Wi-Fi network.
2. On your Mac, click the AirPlay icon in the menu bar and select your TV.
3. Choose to extend or mirror your display as required.
Using Chromecast for Streamlined Connectivity
Chromecast provides straightforward connectivity for various platforms:
1. Insert Chromecast into your TV’s HDMI port.
2. Launch Chrome on your laptop, click the menu icon, and select ‘Cast’.
3. Pick your Chromecast from the list to start streaming.
Configuring Display and Audio Settings
After establishing a connection, fine-tuning your display and audio settings ensures a quality viewing experience.
Adjusting Settings on Windows
- Right-click the desktop and select ‘Display settings’.
- Choose to either duplicate or extend your display.
- Set your TV as the default audio output by right-clicking the speaker icon and navigating to ‘Playback devices’.
Tweaking Display Options on macOS
- Open ‘System Preferences’ and select ‘Displays’.
- Arrange displays for seamless transitions between monitors.
- Ensure your TV is chosen within the ‘Sound’ preferences for audio output.
Setting Up Dual Displays
Enhancing your setup with dual displays improves both workflow and entertainment options:
1. In ‘Display settings’ on Windows, adjust each screen’s orientation and resolution.
2. For Macs, drag the displays within ‘Arrangement’ to define the setup that best suits your needs.
Troubleshooting Common Issues
Encountering issues is not uncommon but generally easy to resolve with some troubleshooting.
Resolving No Signal Errors
- Confirm both ends of your cable connections are secure.
- Check that your TV is set to the right input channel.
- Restart your laptop and TV if the issue persists.
Fixing Audio Sync Problems
- Ensure your laptop’s audio output is configured correctly.
- Verify that your HDMI cable supports audio transfer.
- Restart both devices if there are syncing issues.
Ensuring Compatibility Between Devices
- Keep your laptop and TV firmware updated.
- Double-check that your cables and adapters are compatible with your devices.
- Refer to your product manuals or support sites for specific guidance.
Conclusion
Linking your laptop with a TV enhances multimedia enjoyment and productivity. By selecting the right connection method from this guide, you can ensure a seamless setup, whether you prefer a wired or wireless approach.
Frequently Asked Questions
Can I use a USB cable to connect my laptop to a TV?
Typically, USB cables are not suitable for video output. Opt for HDMI or wireless connections instead.
What should I do if my TV doesn’t recognize my laptop?
Check all connections, ensure the TV is on the correct input, and restart both devices.
Are there any quality differences between wired and wireless connections?
Wired connections generally offer lower latency and higher quality, while wireless solutions offer more convenience.