Introduction
Getting a new iPhone should feel exciting, not stressful. Use this clear, step by step checklist to prepare your current phone, protect your accounts, and move your line without hiccups. You will confirm upgrade options, choose the right device, and ready your apps for a clean transfer. You will also back up the right way, trim storage, prep eSIM details, and stage Wallet items. After activation, you will tune privacy and notifications, then secure and wipe the old phone for trade in or resale. Each section builds toward a fast, safe setup that keeps your data intact. Start with your eligibility and model choice. Then follow the order below to avoid common pitfalls.

Check Upgrade Eligibility and Pick the Right iPhone
Begin by verifying that you can upgrade without surprise fees. Check your status in the Apple Store app, your carrier account, or any installment plan. Review trade in values so you know whether to return your current phone now or after setup. If you carry AppleCare+, confirm how it transfers or whether you should adjust coverage.
Choose a model that fits how you actually use your phone. Creators may want top cameras, large storage, and Pro features. Travelers should favor battery life and robust eSIM support. Power users benefit from the fastest chip and more RAM, while minimalists can pick a lighter device that still meets daily needs. With your choice set, line up storage and accessories so you can start strong.
Plan Storage, Color, Accessories, and AppleCare+
Pick storage with headroom for the next year or two. Check current usage under Settings > General > iPhone Storage, then add at least 30 percent for growth. If you shoot lots of 4K video or ProRAW photos, go higher. Choose a finish you will enjoy daily and that hides wear. Order a case and screen protector so you can protect the phone before setup. Add a certified fast charger and a durable USB C cable. If you use MagSafe, have your mounts or wallets ready. Decide on AppleCare+ or carrier insurance now to avoid gaps. With the hardware plan locked, you are ready to prepare the software on your current device.
Update Your Current iPhone and All Apps First
Update to the latest iOS so Quick Start and restores work smoothly. Go to Settings > General > Software Update and install any carrier settings. Open the App Store and update all apps. Launch critical apps to confirm you are signed in and syncing to their clouds. Prioritize email, password manager, authenticator, banking, and messaging. Restart your iPhone to clear caches. A fully updated device reduces transfer errors. Now you can capture reliable backups without fighting version mismatches.
Back Up Properly: iCloud vs Encrypted Mac/PC Backups
A current, complete backup is the heart of a smooth upgrade. You have two best options and can safely do both.
iCloud Backup:
– Turn on iCloud Backup under Settings > [your name] > iCloud > iCloud Backup.
– Tap Back Up Now while on power and Wi Fi.
– Confirm you have enough iCloud+ storage and wait for the latest time stamp.
– Restores from iCloud are simple and work anywhere with a solid network.
Encrypted local backup on Mac or PC:
– Connect your iPhone via USB C and open Finder on Mac or iTunes on Windows.
– Choose your device and enable encrypt local backup. Set a password and store it in your password manager.
– Encrypted backups include Health, Keychain, Wi Fi passwords, and other sensitive data that iCloud Backup does not always carry the same way.
Why do both: iCloud is convenient and flexible, while a local encrypted backup often restores faster and more completely in one pass. Label the local backup with today’s date. Do not erase or sign out on the old phone until the new iPhone is fully restored and verified. With a safety net in place, trim clutter to speed transfers.
Clean and Optimize Storage Before Transfer
Clutter increases transfer time and risk. Lighten the load now.
– Photos: remove duplicates, blurry shots, and screenshots you no longer need. Empty Recently Deleted.
– Videos: archive long clips you do not need offline to cloud or external storage.
– Messages: delete massive threads and attachments, especially long voice notes and large media.
– Apps: remove apps you never open. Clear large offline map regions and music caches.
– Files: empty Downloads in the Files app and tidy Safari offline lists.
Aim for 10 to 20 percent free space. Cleaner storage makes backups faster and reduces restore churn. With the payload trimmed, secure your logins so setup day does not turn into a password scavenger hunt.
Prep Your Accounts: Apple ID, Passcode, 2FA, and Passkeys
Account prep prevents lockouts and speeds activation.
– Confirm Apple ID and password. Update recovery email and trusted numbers.
– If you use a recovery key, store it safely offline and note where to find it.
– Know your device passcode; you will need it for Quick Start and Wallet.
– Ensure you can receive two factor codes via your main number and a backup method.
– Export accounts from your authenticator app if it supports secure transfer, or record recovery codes for key services.
– Verify your password manager syncs and unlocks with Face ID on your current phone.
– Check that passkeys sync in iCloud Keychain across your Apple devices.
Families should review purchase sharing, Screen Time, and Ask to Buy so child devices do not hit activation snags. With credentials in order, you are ready to move your number and service.
Get eSIM and Carrier Activation Ready
Most recent iPhones rely on eSIM, so line prep matters. Start by confirming your carrier supports eSIM transfer for your target model. Update your carrier app and sign in. Note your account PIN or port out PIN, billing ZIP, and last four of SSN if your carrier asks for them. Request a transfer code or a new QR if required. If you use dual lines, label them Work and Personal so the new phone applies defaults correctly.
On activation day, keep the old phone powered and connected until the new phone shows service. During Quick Start, follow the prompt to move the eSIM. If the network does not appear, toggle Airplane Mode, reboot, or re scan the QR provided by your carrier. Visual voicemail may require a PIN after activation, so have it ready. Travelers can preload a secondary travel eSIM in a separate plan. With service lined up, get Wallet items ready so you can tap to pay and ride without delay.
Secure Wallet Items: Cards, Transit, IDs, and Digital Keys
Wallet items may not migrate automatically because they are tied to secure elements. Make a quick inventory of what you use daily.
– Payment cards: confirm your bank apps and 2FA are ready so you can re add cards fast.
– Transit cards: some systems require you to remove the card from the old phone before adding it to the new one.
– Digital IDs and keys: state IDs, car keys, and home keys often need re verification.
– Tickets and passes: re download from the airline, venue, or event app.
Once you know the source of each item, you can safely unpair accessories and prepare them for the move.
Unpair Apple Watch and Prepare Accessories
Unpair Apple Watch to create a fresh backup that will restore to the new iPhone. Open the Watch app, tap All Watches, tap the info button, and unpair. Keep the watch on its charger during this step. Update AirPods firmware by keeping them near your iPhone while connected and charging. Plan to re pair Bluetooth accessories like car kits, speakers, and fitness gear after you migrate. If you use CarPlay, note which cars are linked so you can add the new device quickly. With accessories staged, choose the transfer method that fits your time and connection.
Choose Your Transfer Method: Quick Start, iCloud Restore, or Wired
Pick a path based on speed, reliability, and your network.
Quick Start device to device:
– Place the phones close, unlock the new one, and scan the swirling animation with the old phone.
– Follow prompts to move Apple ID, settings, and eSIM in one flow.
– Keep both phones on power and Wi Fi, and avoid using them until the transfer finishes.
iCloud restore:
– Turn on the new iPhone, sign in, and pick Restore from iCloud Backup.
– Apps and data restore in stages, which is handy if you have strong Wi Fi and time.
Wired device to device via USB C:
– Connect the phones with a USB C cable and choose Transfer from iPhone.
– This is often the fastest route for huge photo libraries and reduces Wi Fi hiccups.
If one method stalls, cancel safely and try another. With your transfer plan set, handle edge cases that can complicate setup.
Special Cases: Work MDM, Beta iOS, and Switching from Android
Work and school devices often use management profiles. Check with IT before you upgrade. You may need to wait for the new model to be approved or for a profile change that allows backup and restore. If your current phone runs a beta, remove beta profiles and update both phones to the same public iOS to avoid transfer errors.
Switching from Android requires Apple’s Move to iOS app. Install it on the Android phone, connect both devices to the same Wi Fi, and follow the on screen code. You can move contacts, messages, photos, videos, calendars, and some accounts. Turn off RCS features in the Android messages app to prevent missing texts after the switch. With special cases squared away, set the stage for a smooth activation window.
Day Of Setup Checklist for a Smooth Activation
A short checklist makes launch day calm and predictable.
– Charge both phones to at least 80 percent and connect to power during transfer.
– Use fast, stable Wi Fi and avoid crowded networks.
– Install the case and screen protector before you begin.
– Have your Apple ID password, device passcode, and 2FA methods ready.
– Keep carrier account info and any eSIM QR handy.
– Close background apps on the old phone to reduce interruptions.
Start Quick Start or your chosen method. Watch for prompts to set up Face ID, move the eSIM, and restore Wallet. If you see activation errors, reboot both devices and retry. Once you reach the home screen on the new phone and apps begin downloading, move on to post setup checks to fine tune privacy and performance.
Post Setup Audit: Permissions, Notifications, Privacy, and Location
After migration, review settings so the new iPhone feels calm, fast, and secure.
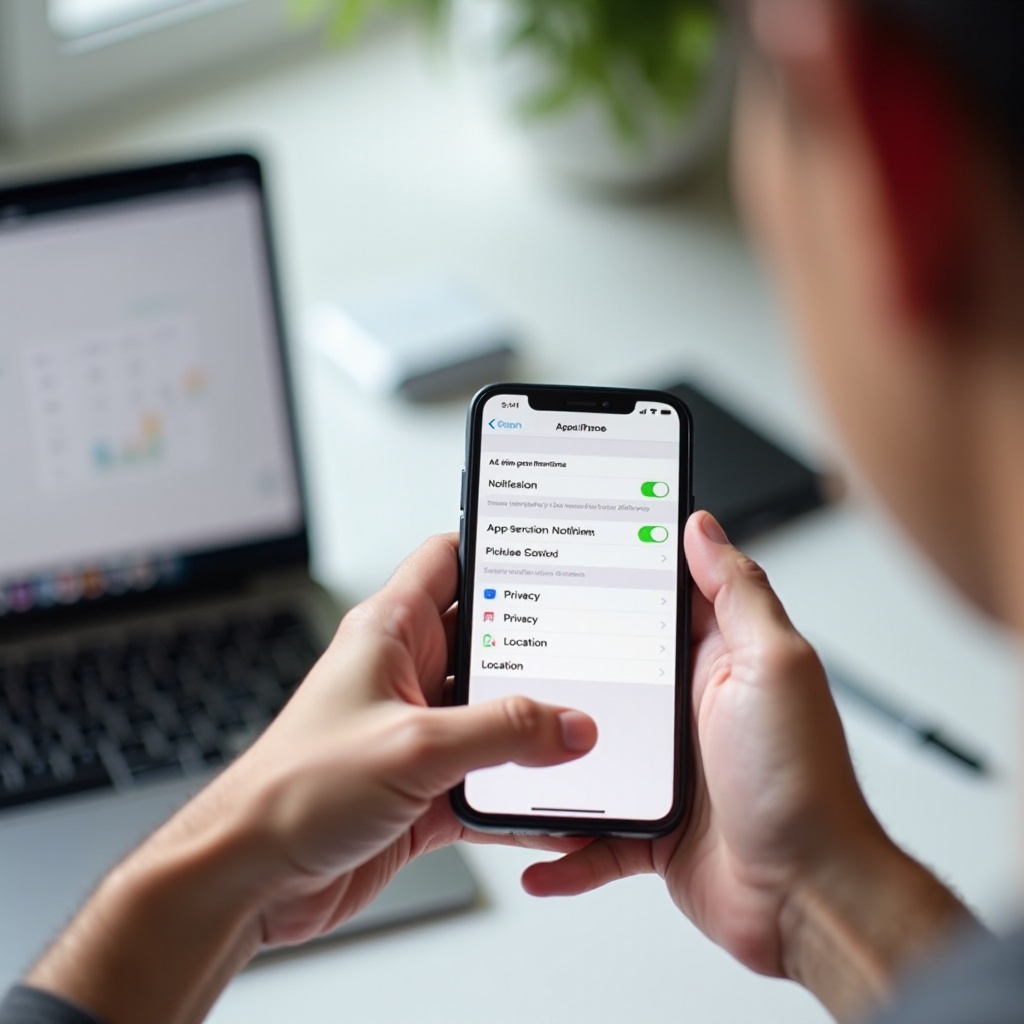
– Permissions: open Settings > Privacy and Security. Check Photos, Camera, Microphone, Contacts, Calendars, and Bluetooth per app. Limit access to what you need.
– Notifications: trim noise. Allow time sensitive alerts for key apps and use Scheduled Summary for low priority apps.
– Focus: set Work, Sleep, Personal, and Driving with allowed contacts and apps.
– Location: set most apps to While Using and disable Precise Location when not required.
– Security: enable Stolen Device Protection and confirm Find My is on. Turn on Notify When Left Behind for AirTags, AirPods, and other accessories.
– iCloud: verify Photos, Messages in iCloud, Keychain, and Health are syncing.
– Battery: enable Optimized Battery Charging and check which apps use the most power in the last 24 hours and 10 days.
With the new phone tuned, you can safely decommission the old one for trade in, sale, or recycling.
Trade In, Wipe, and Recycle Your Old iPhone Safely
Only after you confirm that everything transferred should you wipe the old device. Follow this order for a clean break:
1) Turn off Find My under Settings > [your name] > Find My > Find My iPhone.
2) Sign out of Apple ID under Settings > [your name] > Sign Out.
3) Erase all content and settings under Settings > General > Transfer or Reset > Erase All Content and Settings.
4) Remove the device from your Apple ID at appleid.apple.com so activation lock cannot trigger.
5) For trade ins, follow the shipping kit instructions, include any required paperwork, and take photos of the package before drop off.
6) For private sales, remove SIMs or eSIM profiles that should not remain, and reset once more before handoff.
7) For recycling, use an authorized program that certifies data destruction.
With the old phone delinked and erased, your upgrade is secure from end to end.
Conclusion
The best way to prep for a new iPhone is to work in a simple order. Confirm eligibility, pick the right model and storage, update your current device, and create reliable backups. Clean up your data, secure accounts and 2FA, and get eSIM and Wallet ready. Choose a transfer method that fits your time and network, then fine tune privacy and notifications after setup. Finish by wiping and removing the old phone from your accounts before trade in or sale. Follow this checklist and you will power on the new iPhone with your apps signed in, your photos intact, and your number active on day one.
Frequently Asked Questions
What should I do on my old iPhone right before setting up the new one?
Update iOS and apps, free 10 to 20 percent storage, and make a fresh encrypted backup on Mac or PC plus an iCloud backup. Unpair Apple Watch to capture its backup. Confirm your Apple ID, passcode, and 2FA work. Note your carrier PIN and any eSIM transfer info. Keep the old phone powered on and nearby until the new phone finishes activation and data transfer.
How do I transfer or activate my eSIM on a new iPhone without losing service?
Update both phones, open your carrier app, and follow the eSIM transfer prompt during Quick Start. If your carrier uses a QR, scan it when asked. Keep the old phone on until the new one shows signal. If service does not appear, toggle Airplane Mode, reboot, or re scan the QR. Contact your carrier if the line locks or you need a new eSIM.
What is the fastest and most reliable way to move data to a new iPhone?
Use a wired device to device transfer with a USB C cable, especially for large photo libraries. It avoids Wi Fi bottlenecks and often beats iCloud restores for speed. Quick Start over Wi Fi is a close second on a strong network. Always make an encrypted local backup first as a fallback.