Introduction
You set a Dell dock on your desk, connect its power brick, and plug in your laptop. The dock LED stays off or your laptop does not start. You wonder how to turn on Dell docking station the right way. This guide removes guesswork and gives you a clear path to power on the dock, start your laptop with the dock button when supported, and fix problems fast. We focus on popular docks: WD19 and WD19TB for USB C and Thunderbolt, WD22TB4 as Dell’s modular Thunderbolt 4 option, and D6000 for DisplayLink setups. You will learn the exact order of steps, the required settings in Windows 11 and BIOS, and reliable habits for daily use at home or at work. Start by understanding what turning on actually means for a dock and a laptop, then move through compatibility and power basics to a simple checklist.
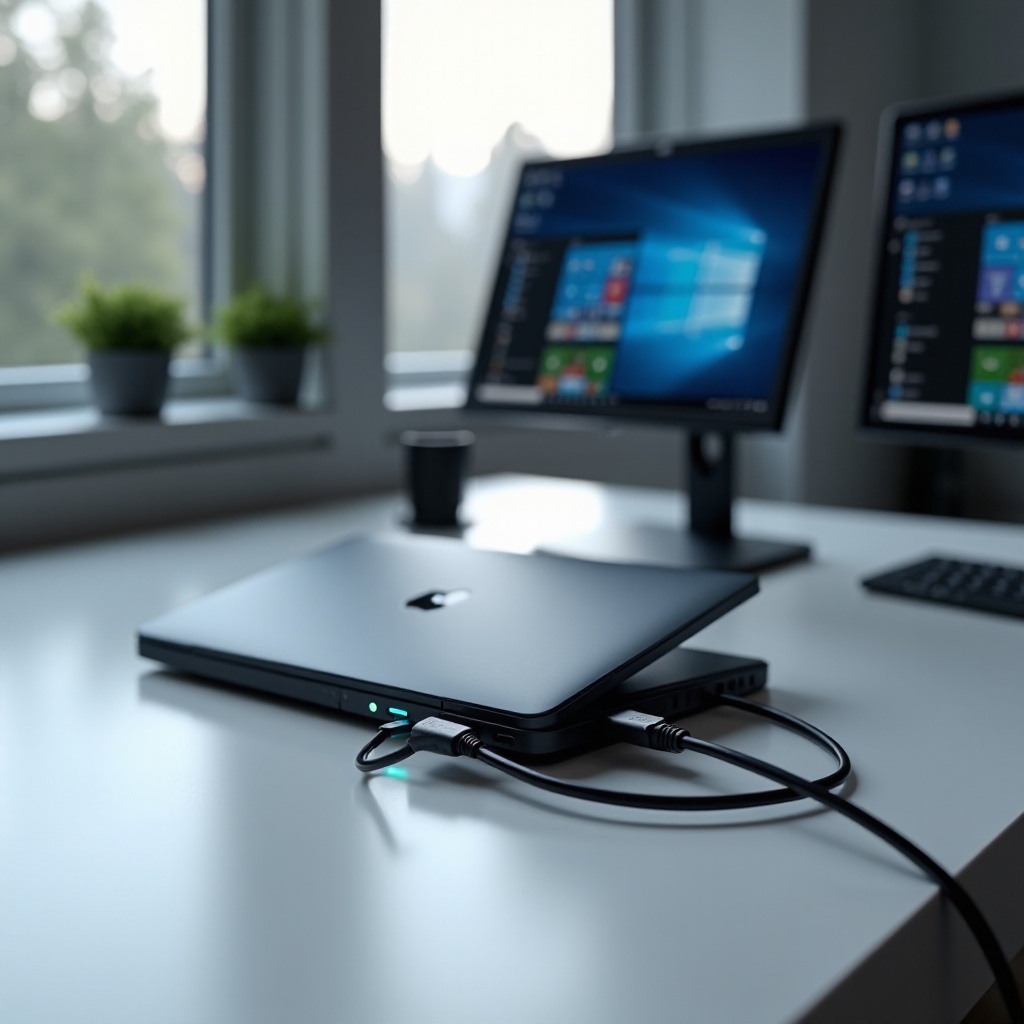
What ‘turn on’ means for a Dell docking station and your laptop
Turning on a Dell dock has two parts: the dock itself and the laptop. The dock powers up when you connect its AC adapter and see a status LED. Then the dock provides USB C Power Delivery or Thunderbolt power, data, and video to the laptop. On many Dell business laptops, the dock’s power button can wake or start the machine. Some laptops will only charge and pass data, and the dock button will do nothing. The right outcome is a stable dock LED, negotiated power to the laptop, and a single cable that handles charging and peripherals. Keep this distinction in mind as you proceed. Next, match your dock type to your laptop’s port and confirm the power budget, so you know the dock can deliver enough wattage.
Check compatibility: USB C, Thunderbolt, and power delivery requirements
Start by identifying your laptop’s port capabilities. A plain USB C port may support data and charging, but not video. A USB C port with a DisplayPort symbol supports video over USB C. A port with a lightning bolt symbol indicates Thunderbolt. Pair the dock to your port: WD19 for USB C, WD19TB or WD22TB4 for Thunderbolt 3 or 4, and D6000 for DisplayLink USB graphics. Next check your laptop’s spec sheet for USB C Power Delivery support and maximum wattage. Ultrabooks often need 60 to 65W; mobile workstations can require 90 to 130W or more. Your dock must have an AC adapter large enough to supply that power. Dell includes 130W, 180W, or 240W adapters with different docks. Under powering a dock leads to charging limits, flickering displays, or a laptop that fails to start from the dock. With compatibility confirmed, you can focus on the physical power path and LED behavior.
Dock power basics: AC adapter wattage, barrel vs USB C power, LED indicators
Dell docks do not power themselves from the laptop. You must plug the dock’s barrel jack into a proper Dell AC adapter. Avoid random third party adapters; match voltage and wattage exactly. Typical guidelines: WD19 and WD19TB often ship with 130W or 180W adapters and deliver up to 65 to 130W to laptops; WD22TB4 uses 180W or 240W and can provide up to 90 to 130W; D6000 uses 130W and delivers up to 65W to most laptops. LED indicators vary by model, but solid white generally means ready; flashing or amber can indicate an error or update. If you see no LED, reseat the barrel connector, try a known good outlet, and check the power brick’s light. Stable AC power is the foundation for reliable dock startups. Once the dock LED is solid, you are ready to connect the host cable and enumerate devices on Windows 11.
Quick start checklist: power the dock, then connect your laptop
A clean first connection avoids many headaches. Use this checklist:
– Plug the dock’s AC adapter into a working wall outlet and the dock’s barrel jack; confirm a solid LED.
– Disconnect external monitors and USB peripherals for the first test.
– Boot Windows 11, update BIOS and drivers, then restart.
– Install Dell Command | Update and, for Thunderbolt, Intel Thunderbolt Control Center.
– Connect the dock’s host cable to the correct USB C or Thunderbolt port on the laptop.
– Wait up to 30 seconds; confirm charging in the system tray and that Device Manager shows dock hardware.
Once you have stable charging and a ready LED, you can test the dock’s power button on supported laptops. The next section explains which systems support power on via the dock button and how that signal works.
Use the dock’s power button to turn on your laptop: models that support it
Dell designed many Latitude and Precision laptops to respond to the dock’s power button. Pressing the dock button sends a hardware signal over USB C or Thunderbolt to wake or start the laptop. Some XPS systems support this feature, while many consumer or third party laptops do not. D6000 usually cannot control the laptop power state; it focuses on USB graphics and charging. If your laptop supports external power button control, you can start the machine with the lid closed in clamshell mode. Success depends on BIOS options and Windows power settings, which we will tune later. If pressing the dock button does nothing, do not assume failure yet; first follow the model specific steps and confirm Thunderbolt authorization where applicable. Then adjust software settings and test again.
Step-by-step: Turn on and use WD19/WD19S/WD19TB series
Follow these steps for WD19 USB C and WD19TB Thunderbolt docks:
1) Place the dock on a stable surface and connect the 130W or 180W AC adapter; look for a solid LED.
2) Shut down the laptop. If you prefer clamshell mode, close the lid after shutdown.
3) Plug the dock’s host cable into the correct laptop port; use the rear host cable on WD19 rather than a front Type C accessory port.
4) On Thunderbolt models, open Intel Thunderbolt Control Center and approve the dock; choose Always Connect for trusted use.
5) Press the dock’s power button once. On supported Dell laptops, the system should wake or start.
6) Wait for external displays to light; if they do not, open Windows Display Settings, click Detect, and arrange screens.
7) Run Dell Command | Update to install dock firmware and any required drivers; reboot.
8) Connect peripherals one by one: keyboard, mouse, Ethernet, and audio; verify each device.
If the dock button still does not start the laptop, do not worry. Thunderbolt authorization, BIOS settings, and Windows power policies control this behavior. The next steps for WD22TB4 are similar but optimized for the modular design and higher wattage.
Step-by-step: Turn on and use the WD22TB4 modular dock
WD22TB4 offers a modular Thunderbolt 4 insert and often ships with a 180W or 240W adapter. Use this process:
1) Connect the AC adapter and confirm a solid dock LED.
2) Power off the laptop; keep the lid closed if you want clamshell operation.
3) Insert the WD22TB4 host cable into the laptop’s Thunderbolt port marked with a lightning bolt icon.
4) In Windows, open Intel Thunderbolt Control Center and approve the dock; select Always Connect.
5) Press the dock’s power button to wake or start supported laptops.
6) Confirm charging in the system tray; the battery should show Plugged in and increase over time.
7) Connect monitors to DisplayPort or HDMI; adjust resolution and scaling in Windows for crisp text.
8) Run Dell Command | Update to apply WD22TB4 firmware; restart.
If the dock powers the laptop but will not start it via the button, the issue is likely a BIOS policy or Thunderbolt security setting. We will configure Windows first, then fine tune BIOS to enable wake and startup from the dock.
Step-by-step: Turn on and use D6000 and other DisplayLink-based docks
D6000 uses DisplayLink USB graphics to drive multiple monitors and typically provides up to 65W charging. It rarely controls the laptop power state with a button press. Do this:
1) Connect the 130W AC adapter to the dock and verify the LED.
2) With the laptop off, plug in the dock’s USB C host cable.
3) Press the laptop’s own power button to start Windows; the system will enumerate the dock.
4) If monitors do not appear, install DisplayLink Manager for Windows and restart.
5) Confirm charging; if the battery drains under load, your laptop needs more than 65W, so consider a higher watt dock or use the OEM charger.
6) Connect peripherals and arrange displays in Windows Settings.
You can still wake a sleeping system with a keyboard or mouse if USB wake is enabled. For one touch power on from the dock button, WD19 or WD22TB4 with a compatible Dell laptop is the better choice. Now we will set Windows 11 policies to allow wake and lid closed operation without surprises.
Windows 11 settings to allow power-on/wake via dock
Windows 11 can block external wake events or turn off USB devices to save power. Adjust these settings:
– Control Panel > Power Options > Choose what the power buttons do: set When I press the power button to Sleep or Shut down per your preference; on business setups, Sleep is common.
– Choose what closing the lid does: set Plugged in to Do nothing for clamshell mode.
– Additional power settings > Change plan settings > Change advanced power settings:
– USB settings > USB selective suspend setting: Disable for testing, then re enable when stable.
– PCI Express > Link State Power Management: Choose Moderate power savings for stability.
– Sleep > Allow wake timers: Enable for testing.
After applying changes, test the dock button again with the lid open and then closed. If behavior remains inconsistent, the laptop’s firmware likely controls the outcome. Proceed to BIOS configuration to unlock dock wake and startup features.
BIOS/UEFI settings that affect power-on from the dock
Enter BIOS or UEFI by tapping F2 on most Dell laptops during startup. Review these areas:
– Power Management:
– Wake on AC: Enable to allow the system to power on when AC becomes present.
– USB wake support: Enable to let external keyboards and mice wake the laptop.
– Modern Standby and block sleep policies: Relax aggressive sleep settings if wake is unreliable.
– Thunderbolt and USB C:
– Enable Thunderbolt and Thunderbolt boot support for WD19TB or WD22TB4.
– Security level or pre boot ACL: Set to a secure level that still allows the known dock to connect.
– External power button control:
– If present, enable a setting for dock or external power button to control the laptop power state.
– Battery and adapter info:
– Check that the laptop detects the AC adapter type correctly; if reported as Unknown, reseat cables or test another adapter.
Save changes and reboot. Test wake and power on from the dock with the lid closed and open. If the dock still fails to start the laptop, hardware and firmware troubleshooting will isolate the problem.
Clamshell mode: turning on and using the laptop with the lid closed
Clamshell mode allows you to run your laptop closed while using external monitors, keyboard, mouse, and audio. Set it up carefully:
– In Power Options, set When I close the lid to Do nothing for Plugged in.
– Power the dock first, then connect the host cable.
– Press the dock’s power button if your laptop supports it; otherwise, open the lid briefly to press the laptop’s button, then close it once external displays show activity.
– Keep vents clear and avoid stacking items on the laptop to prevent heat buildup.
– Use external webcams and microphones for better ergonomics.
If displays go black on wake, open the lid to recover, then adjust sleep settings. Clamshell success depends on correct Windows policies and adequate dock power. When things still misbehave, use a structured troubleshooting path.
Troubleshooting when the docking station won’t turn on or power the laptop
Use this sequence to diagnose stubborn issues:
– Verify AC power: test the wall outlet, confirm the power brick LED is lit, and reseat the barrel connector.
– Check adapter wattage: match the dock with the proper Dell adapter, such as 180W or 240W for high demand setups; under powering causes intermittent charging.
– Inspect the host cable: use the dock’s native host cable and avoid extensions or hubs between laptop and dock.
– Hard reset the dock: unplug AC and the host cable; hold the dock’s power button for 10 seconds; wait 30 seconds; reconnect AC.
– Update firmware and drivers: run Dell Command | Update; apply dock firmware and laptop BIOS, chipset, graphics, and Thunderbolt updates; reboot.
– Approve Thunderbolt: open Intel Thunderbolt Control Center; set the dock to Always Connect to avoid security blocks.
– Test a minimal setup: disconnect monitors and USB devices; confirm laptop charging and LED behavior first.
– Adjust Windows power: temporarily disable USB selective suspend and set lid closed behavior to Do nothing while plugged in.
If the dock LED remains off with a known good adapter, the dock may be defective. If the laptop fails to charge even with its OEM charger, the issue likely lies with the laptop port, battery, or board. Contact support when hardware faults are suspected. With faults ruled out, build up peripherals gradually to confirm stable operation.
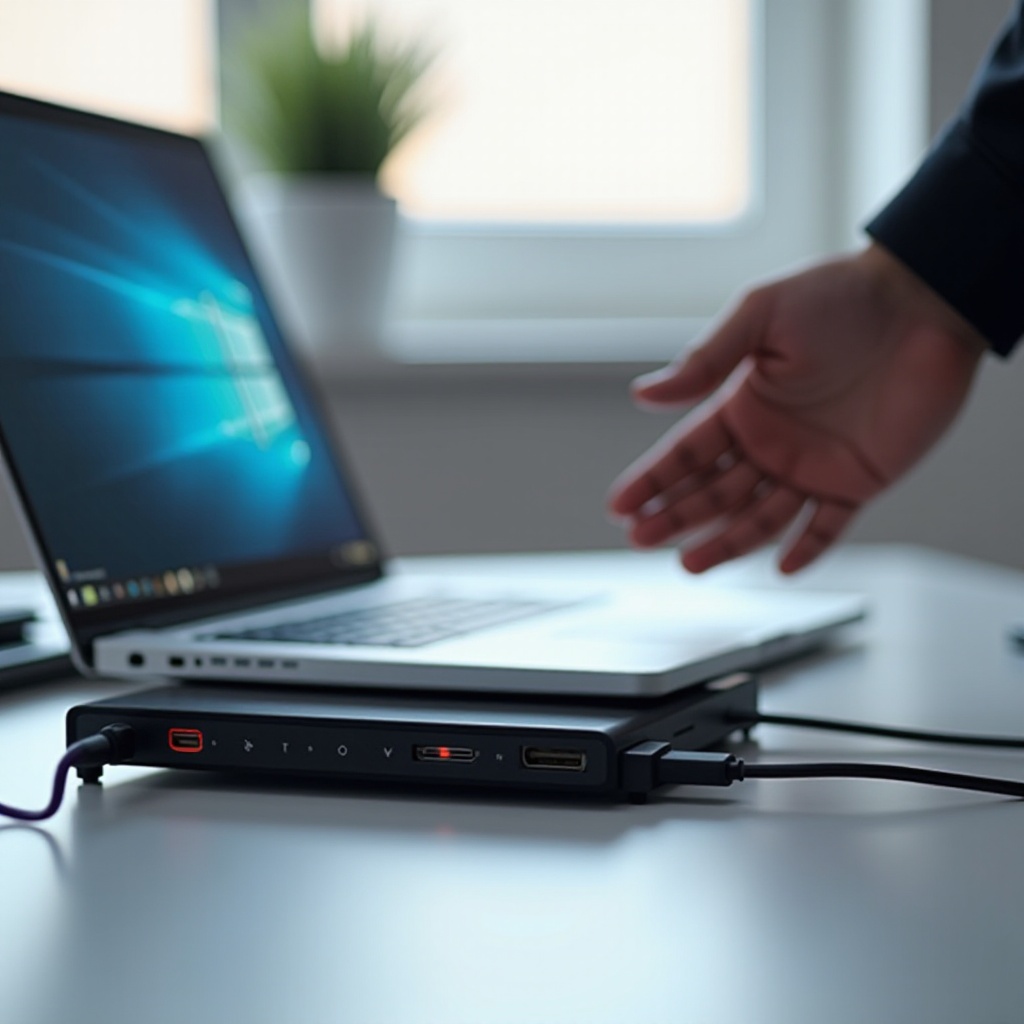
Safety, maintenance, and best practices for reliable dock startups
Prevent future issues with simple habits:
– Use original Dell AC adapters and the dock’s host cable.
– Place the dock so cables do not strain; coil slack gently and avoid tight bends.
– Protect the dock and power brick with a quality surge protector.
– Run Dell Command | Update quarterly to keep firmware current.
– Avoid daisy chaining hubs between dock and laptop; connect the host cable directly.
– Shut down cleanly before moving equipment or re routing cables.
– Label ports and cables on shared desks and train users to connect AC to the dock before the host cable.
These practices reduce intermittent power problems and keep your workstation predictable. With setup complete and habits in place, you are ready to enjoy hassle free one cable docking.
Conclusion
Turning on a Dell docking station becomes trivial once you follow a reliable order. Power the dock with the correct AC adapter and confirm the LED. Connect the host cable to the proper USB C or Thunderbolt port. Approve the device in Thunderbolt Control Center if required. Tune Windows 11 for lid closed operation and wake, and enable dock or external power button control in BIOS when available. On supported Latitude, Precision, and some XPS laptops, a single press on the dock’s button starts the machine and brings up your screens. When issues arise, use the troubleshooting sequence to isolate power, cable, firmware, and security blockers. With good maintenance and clean cabling, your WD19, WD22TB4, or D6000 will start reliably every time you sit down to work.
Frequently Asked Questions
Can a Dell dock turn on any Windows laptop, or only Dell Latitude and Precision?
Dell docks can charge many Windows laptops, but the dock power button only turns on or wakes laptops that support external power button control. Most Latitude and Precision models do, some XPS models do, and many non-Dell laptops do not.
Why won’t the dock power my laptop even though the LED is on?
The dock may be under-powered for your laptop, or Thunderbolt security may be blocking the connection. Use the correct 180W or 240W adapter, approve the dock in Intel Thunderbolt Control Center, update firmware and BIOS, and test with the native host cable.
Can I turn on the dock and charge my laptop using a USB-C monitor or third-party adapter?
A USB-C monitor or third-party charger can power the laptop directly, but it does not power the Dell dock through the host cable. Dell docks require their own AC adapter to turn on and to deliver one-cable charging, data, and video.