Introduction
Family gatherings, travel recaps, and event slideshows look better on a big screen than on a phone. You can get photos on your TV in minutes if you pick the right method. The best path depends on your phone or computer, your TV or streaming box, and how many images you want to show. You can cast, mirror, plug in a USB drive, or use a wired HDMI adapter. Each option has trade offs in speed, quality, and reliability.
This guide gives fast paths for iPhone, Android, Windows, and Mac. Then it dives into AirPlay, Chromecast and Google TV, Amazon Photos, Roku, USB drives, HDMI, Plex or DLNA, and ambient digital frame modes. You will also learn how to tune picture quality, protect privacy, and fix common issues. Start with the quick start section, then follow the platform guide that matches your setup. With the basics in mind, the next section explains casting and mirroring so you can choose with confidence.
Casting vs. Mirroring: What to Use and When
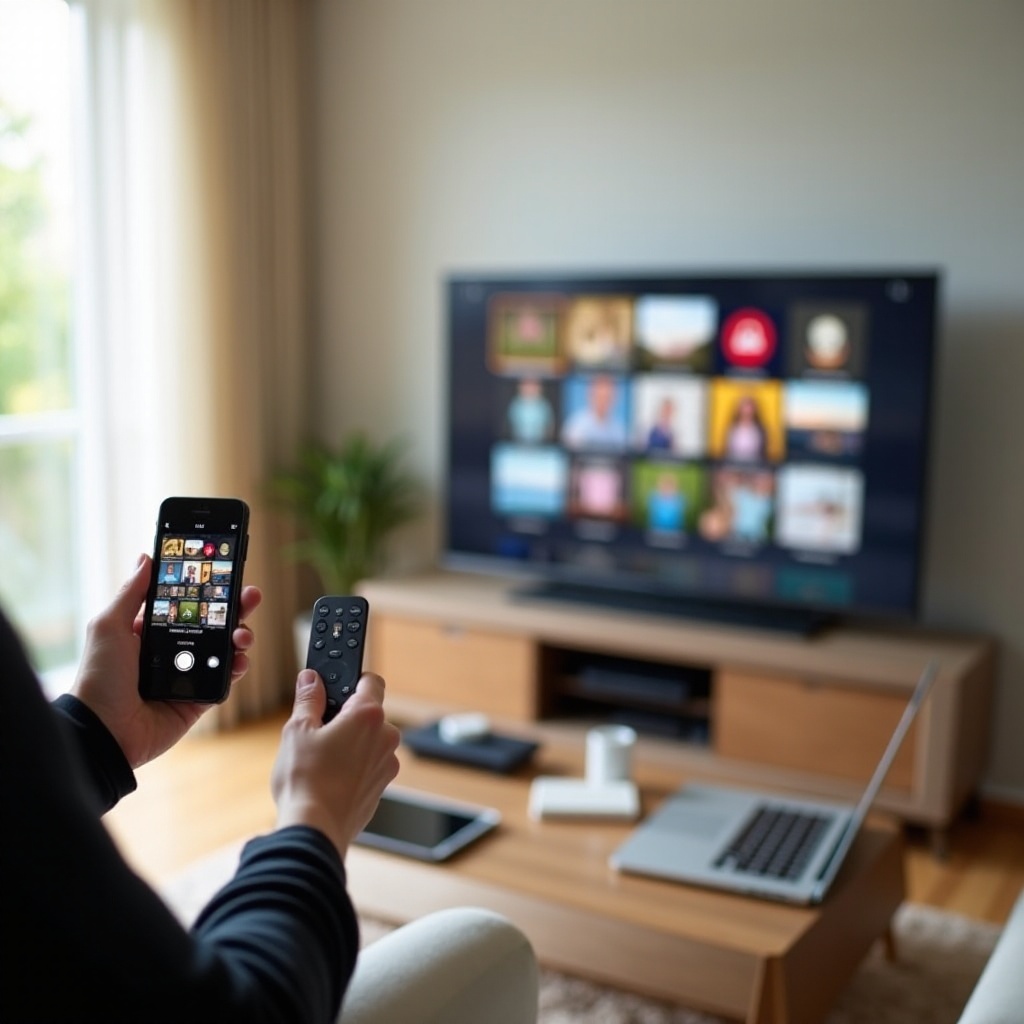
Casting sends the photo or slideshow to the TV or streaming device so it plays there. Your phone or laptop works like a remote. Battery drain is low. Playback is smooth. Apps like Google Photos, Amazon Photos, and Apple Photos support casting on compatible hardware. Mirroring copies your entire screen to the TV. It shows everything, including notifications. Mirroring works when an app lacks a cast button, but it can lag and drain battery.
Use casting when your TV supports AirPlay, Chromecast built in, or a native photo app. You get better stability for long slideshows and less chance of interruptions. Use mirroring for quick demos, edits, or showing apps that do not support casting. Casting usually delivers higher quality because the TV decodes the media directly. Mirroring is flexible but can add delay. With that choice clear, let us jump to the fastest steps for each device so you can get photos up right away.
Quick Start: The Fastest Path by Device
Want results now Use these shortcuts for the most common setups:
– iPhone or iPad to AirPlay 2 TV or Apple TV:
1) Connect both devices to the same Wi Fi.
2) Open Photos, tap Share, choose AirPlay, pick your TV.
3) For a timed slideshow, tap More and choose Slideshow.
– Android to Chromecast or Google TV:
1) Join the same Wi Fi.
2) Open Google Photos, tap the Cast icon, select the TV.
3) Open an album or Favorites, then choose Slideshow if available.
– Windows to Chromecast or Miracast:
1) In Chrome or Edge, click Cast to send a tab or desktop.
2) Or press Windows key plus K to connect wirelessly if supported.
3) Use the Photos app to start a local slideshow.
– Mac to AirPlay TV or Apple TV:
1) Open Control Center, pick Screen Mirroring, select your TV.
2) Or in Photos, click Share, choose AirPlay, and select the TV.
These quick paths handle most homes. Next, we will cover AirPlay in detail for Apple users, then move to Google Photos and Chromecast for Android centric setups.
AirPlay to Compatible TVs and Apple TV
AirPlay 2 makes it simple to show iPhone, iPad, and Mac photos on many Samsung, LG, Sony, and Vizio TVs, plus any Apple TV. Put both devices on the same Wi Fi. On iPhone or iPad, open Photos, select images or an album, tap Share, choose AirPlay, then select the TV. For a fullscreen view of a single photo, tap the AirPlay icon while the photo is open. For a timed show, tap More and pick Slideshow to set themes and duration.
On a Mac, open Control Center, choose Screen Mirroring, and pick the TV for quick mirroring. Or open Photos, click Share, select AirPlay, and choose the TV to cast only photos. If the TV shows a code, enter it once to connect. AirPlay gives stable quality and tight controls, making it a strong default for Apple devices. If your home leans toward Google services, the next section shows how to do the same with Chromecast and Google TV.
Google Photos and Chromecast or Google TV
Chromecast built in and Google TV make casting from Android and iOS easy. Connect your phone and TV to the same Wi Fi. In Google Photos, tap the Cast icon, then pick your TV or Chromecast. Open Favorites, a trip album, or a shared family album. Your TV will show the images fullscreen. For slideshows, tap the three dot menu and select Slideshow. You can shuffle, loop, and adjust pause time in many TV apps.
You can also cast from Google Photos on the web in Chrome. Click the browser Cast button, select the TV, then play albums from the web interface. To make your TV a hands off digital frame, open the Google Home app, select your Chromecast or Google TV device, and set Google Photos albums for Ambient Mode. Keep one album for events so the TV updates as you add pictures. If the Cast button is missing, check that both devices use the same Wi Fi band, disable VPN, and update Google Photos. If you prefer Amazon services, Fire TV with Amazon Photos is a smooth alternative.
Amazon Photos and Fire TV
Fire TV pairs well with Amazon Photos, especially if you back up from Android or iPhone. On Fire TV, install Amazon Photos from the app store and sign in with the same account you use on your phone. Choose albums or Recent to start a slideshow. Use shuffle or loop when you want variety. On your phone, enable auto upload in Amazon Photos so your latest shots appear on the TV without extra steps.
To turn the TV into a digital frame, go to Fire TV settings and set Amazon Photos as your screensaver source. Pick one or more albums and adjust timing. If casting from the mobile app does not appear, use the Fire TV Display and Sounds Mirroring option as a fallback from Android, or add an HDMI adapter for iPhone. If you use Roku hardware instead, the next section explains Roku Photo Streams and casting options.
Roku Photo Streams and Casting
Roku gives you two easy routes. First, Roku Photo Streams creates curated slideshows. Open the Roku mobile app, tap Photo Streams, and add pictures. Invite family to contribute. On the Roku device, open Photo Streams and start the show. This is ideal for shared albums and event highlights.
Second, cast or mirror. Many Roku models support AirPlay 2, so iPhone users can cast from Photos or mirror the screen. Android and Windows users can enable screen mirroring in Roku settings, then connect from their device. You can also cast from supported apps via the Roku app. If you see black bars or cropped edges, adjust the Roku display resolution to match the TV, and switch TV aspect settings to fit rather than fill. If you want to skip apps and networks, USB playback offers a simple offline route.
Show Photos via USB Drive or External Storage
A USB drive is fast, private, and reliable. Many TVs read JPEG and PNG, and some handle HEIC. Prepare the drive first:
– Format as exFAT for cross platform support.
– Convert HEIC to JPEG if your TV cannot read HEIC.
– Use simple file names and organize albums into folders.
– Resize very large images to 4K or 1080p to speed loading.
Plug the drive into the TV USB port. Open the TV Media or Gallery app, browse to your folder, and start a slideshow. Control timing, repeat, and shuffle if the TV supports those options. If the TV does not see the drive, try a different USB port, use a shorter cable, or power a portable SSD with a Y cable. For big libraries, a small SSD loads faster than a slow flash drive. If you want a wired connection without prepping files, an HDMI cable offers a rock solid path next.
Use an HDMI Cable or Adapter for a Reliable Connection
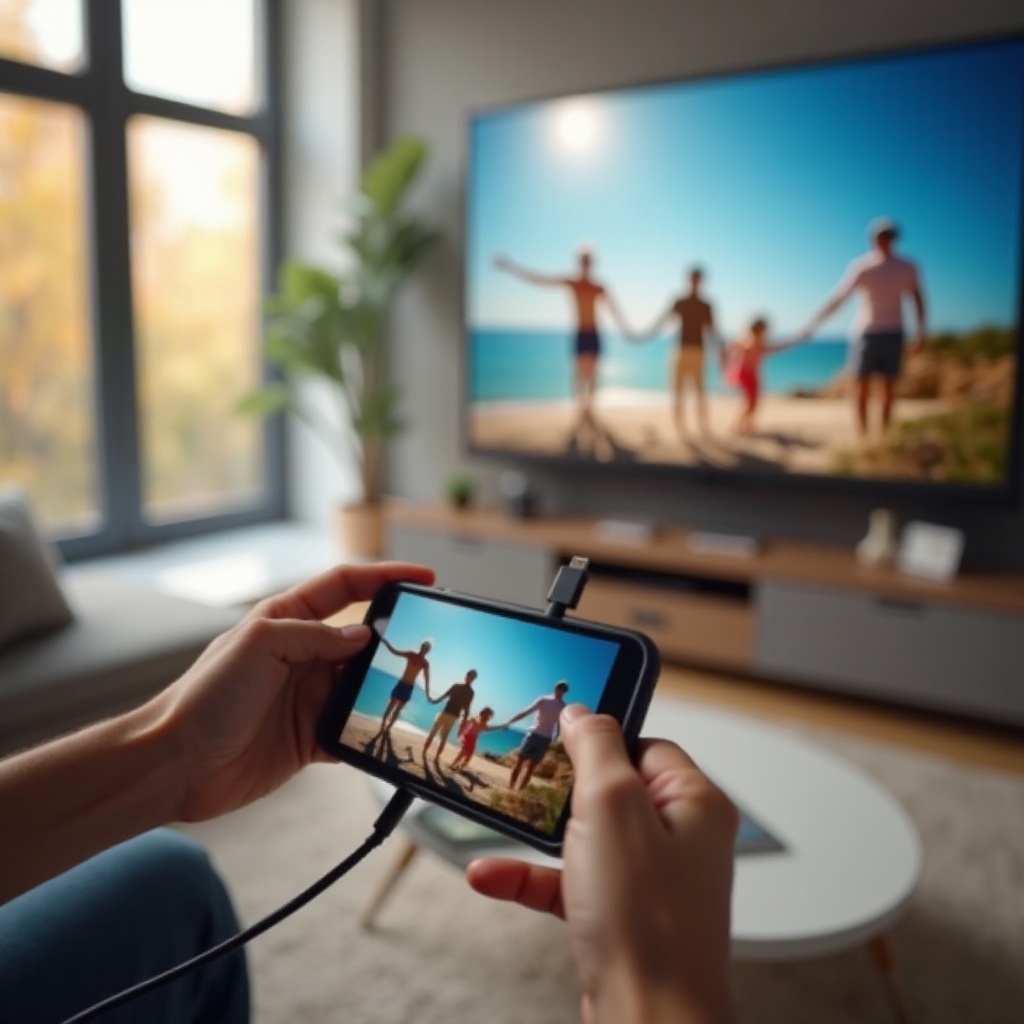
A direct HDMI link avoids Wi Fi issues and gives stable, consistent quality. Use a USB C to HDMI cable for most Android phones and many laptops. For iPhone or iPad with Lightning, use the Lightning to Digital AV Adapter. Laptops with full size HDMI can plug in directly. Select the TV HDMI input, then mirror or extend your display.
Open your Photos app, select your album, and start a slideshow. This method shines at events because it avoids network drops, app updates, and login prompts. If audio routes to the TV when you only want visuals, lower the TV volume or switch the audio output on your device. If the picture looks soft, set the device output to 4K or 1080p to match the TV. For huge photo collections, a media server provides the best organization and search, which we cover next.
Stream Big Libraries with Plex or DLNA
Large collections become easier to manage with a media server. Plex organizes folders into albums, adds artwork, and streams to TVs, Roku, Fire TV, Apple TV, and Google TV. Install Plex Media Server on a PC, Mac, or NAS. Point it at your Pictures folders. Use the smart collections to group by date, location, people, or tags. Install the Plex app on your TV or streaming device, sign in, and you will see your albums ready to play.
DLNA is a simpler path that many TVs support without extra apps. On Windows, enable Media Streaming and add your photo folders. On Mac or Linux, run a DLNA server app and select your folders. On the TV, open the built in Media Player, browse to your server, and open albums by folder. Plex adds cross device sync, better search, and sharing controls, while DLNA keeps overhead low. For shared events, create a dedicated event library and a simple playlist for a hands free slideshow. If you want your TV to display photos when idle, ambient and art modes make that easy.
Turn Your TV into a Digital Photo Frame (Ambient or Art Modes)
Many TVs can show your photos as a screensaver or art display. On Google TV and Chromecast, set Ambient Mode to use Google Photos albums. On Fire TV, choose Amazon Photos as the screensaver source. On Roku, set Photo Streams as a screen saver. Samsung and LG offer gallery and art features that can show albums with tasteful mats and music.
Pick albums that auto update so new shots appear without extra work. Adjust display time, shuffle, and portrait options to avoid awkward crops. Set brightness to a moderate level to protect the panel and save energy. Ambient displays are perfect for guests and everyday enjoyment. If images look off, the next section helps you dial in picture quality for accurate color and crisp detail.
Optimize Picture Quality: Resolution, HDR or SDR, and Aspect Ratio
Great photos deserve clean, accurate playback. Match the device output to the TV. Use 4K output for a 4K TV and 1080p for a 1080p set. If colors look strange or highlights clip, force SDR output or enable match dynamic range on devices that support it. That avoids odd tone mapping that can wash out images.
Adjust your TV picture mode. Choose Movie, Cinema, or Filmmaker for natural color and proper gamma. Disable motion smoothing to prevent smearing on pans. Set sharpness near zero to avoid halos around edges. Turn off noise reduction for clean digital photos. If edges are cropped, disable overscan with settings like Just Scan, Screen Fit, or 1 to 1 pixel mapping.
For portrait photos on a widescreen TV, use fit instead of fill so faces are not cut off. If slideshows stutter, reduce transition effects and ensure the device and TV share the same Wi Fi band. For the most consistent quality, rely on USB or HDMI to bypass network compression. Once your images look right, keep them safe with basic privacy steps.
Privacy and Sharing: Keep Your Albums Secure
Photos can reveal locations, faces, and sensitive moments. Reduce risk with a few habits. Use private albums or invite only shared albums, not public links. Remove location data before sharing, or keep EXIF hidden in public folders. Create a guest Wi Fi network for visitors who cast to your TV, and turn off notification mirroring when you present.
If your TV stores accounts, set a PIN or profile lock. When you use Plex or cloud albums, enable two factor sign in and strong passwords. For events on unfamiliar TVs, bring a USB stick or HDMI adapter so you do not need to log into your accounts. For ambient displays, point the TV to a single curated album so surprises do not appear. Even with good habits, glitches happen, so the next section shows how to fix common problems fast.
Troubleshooting: Fix Common Casting and Playback Issues
Use these targeted fixes to solve frequent problems:
– Missing Cast or AirPlay icon:
1) Put phone and TV on the same Wi Fi and band.
2) Update the Photos app and TV or streaming device firmware.
3) Restart the router, phone, and TV.
– Photos look washed out or too dark:
1) Disable forced HDR or enable match dynamic range on the device.
2) Switch the TV to Movie or Filmmaker mode.
– HEIC files do not show:
1) Convert to JPEG before transfer with your photo app or a batch tool.
2) Update the TV app or use a streaming box that supports HEIC.
– Choppy slideshow or laggy mirroring:
1) Use USB or HDMI for critical events.
2) Reduce transition effects and turn off motion smoothing.
3) Move closer to the router or use the 5 GHz band.
– Wrong orientation or rotated images:
1) Rotate and save the file on your phone or computer, then recast.
2) Clear the TV app cache and reload the album.
– TV not found on the network:
1) Turn off VPN and private relay features.
2) Disable AP isolation or client isolation on the router.
If issues persist, factory reset the streaming device or switch to a direct HDMI cable for the event. Diagnose the network later. If you want a smoother day to day setup, the next section lists reliable gear to keep handy.
Recommended Adapters, Dongles, and Accessories
Hardware can simplify sharing and reduce setup time:
– Chromecast with Google TV: seamless casting and ambient photos.
– Apple TV 4K: best AirPlay experience and smooth photo slideshows.
– Roku Streaming Stick: easy Photo Streams and AirPlay on many models.
– Fire TV Stick: tight Amazon Photos integration and screensavers.
– USB C to HDMI cable: direct output from modern Android phones and laptops.
– Lightning to Digital AV Adapter: reliable wired output for older iPhones and iPads.
– Fast USB 3.0 flash drive or portable SSD: quick, offline slideshows without logins.
Pick the device that matches your phone platform to reduce friction. For events, carry a USB drive with curated folders and a known good HDMI adapter. With the gear checklist done, let us wrap up the key points.
Conclusion
You have many ways to show photos on your TV, and you can set up most of them in minutes. Use casting with AirPlay or Chromecast for the fastest share. Choose HDMI or USB for the most reliable quality. For large collections, Plex or DLNA stream photos cleanly and keep them organized. Ambient modes can turn your screen into a living gallery. Tune picture settings for accurate color, and lock down privacy on shared devices. With the right method for your gear and goal, your photos will shine on the big screen every time.
Frequently Asked Questions
What is the best way to show iPhone photos on a non Apple smart TV
Use AirPlay 2 if the TV supports it. Connect both to the same Wi Fi, open Photos, tap Share, choose AirPlay, and pick the TV. If AirPlay is missing, add Apple TV, a Roku with AirPlay, or use a Lightning to HDMI adapter for a reliable wired link.
Why will my TV not display HEIC or 4K photos correctly
Some TVs and apps do not read HEIC. Convert HEIC to JPEG or cast with AirPlay or Chromecast, which can handle conversion. If 4K shots look off, disable forced HDR or match dynamic range, use Movie or Filmmaker mode, and lower sharpness for cleaner edges.
How can I add music and autoplay to a TV photo slideshow
On Apple TV, use the Photos app to start a slideshow and select a theme and music. In Google Photos, cast an album and choose Slideshow, then play music from a separate speaker. Roku Photo Streams and Amazon Photos support autoplay and shuffle for simple shows.