Introduction
Your TV runs out of HDMI ports fast. Game consoles, a streaming box, a Blu‑ray player, and a soundbar can eat every input. You do not need a new TV to fix it. You can add more HDMI ports in minutes if you choose the right device.
This guide shows you the best ways to expand HDMI: switches, AV receivers, matrix gear, and eARC extractors. You will learn what each option does, who should use it, how to set it up, and how to avoid common pitfalls. We will also cover how to keep 4K/120, HDR, VRR, and Dolby Atmos working. Finally, we provide example setups for LG, Samsung, and Sony TVs and a quick buying checklist.
Let us start with the fastest answers, then go deeper so you can pick the simplest, most reliable path for your room.
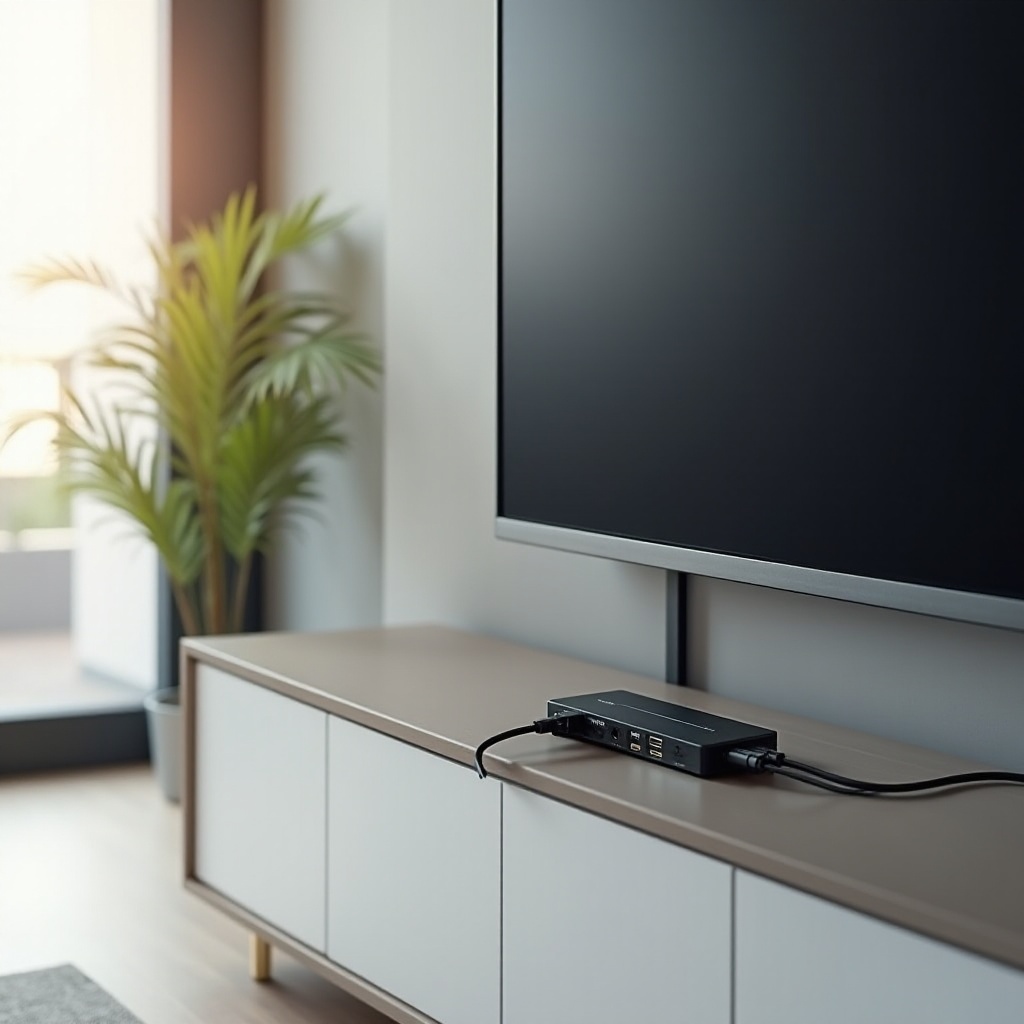
Quick Answer: The Fastest Ways to Add HDMI Ports
If you want a quick win, use one of these:
- HDMI switch: Adds more inputs to one TV HDMI port. Best for most people. Choose a 48 Gbps Ultra High Speed switch if you need 4K/120 or VRR.
- AV receiver (AVR): Central hub for all sources and speakers. Adds many HDMI inputs and improves audio. Costs more and is larger.
- eARC audio extractor: Keeps your soundbar or AVR on eARC and frees a TV HDMI port by moving audio off that port. Great when the eARC port ties up a valuable input.
- HDMI matrix: Routes multiple sources to multiple displays. Ideal for two displays or a projector plus TV. Overkill for single‑display setups.
Pick a switch if you want cheap and simple. Choose an AVR if you also want better sound and a one‑remote hub. Now, check your TV so you do not buy features you cannot use.
Check Your TV’s Ports and Capabilities: HDMI 2.1, eARC, and Bandwidth
Before you buy anything, check what your TV supports:
- How many HDMI ports are there, and which are HDMI 2.1? Many TVs have one to four 2.1 ports. HDMI 2.1 supports 4K/120 and VRR on capable models.
- Which port has eARC or ARC? eARC sends lossless audio (for example, Dolby TrueHD Atmos) from the TV to a soundbar or AVR. ARC supports compressed audio only.
- Does your TV have enhanced or input signal plus settings per port? Enable them for HDR and higher bandwidth modes.
Know your sources:
– Consoles (PS5, Xbox Series X) and high‑end PCs may need 4K/120 and VRR.
– Streamers and Blu‑ray players need HDR and HDCP 2.3 compatibility.
– Soundbars often rely on the TV’s eARC port, which uses up one HDMI input.
Once you know your bottleneck, you can choose the right expansion path. The simplest option for most homes is an HDMI switch.
Option 1: HDMI Switches — Expand Inputs Without Replacing Your TV
An HDMI switch takes several inputs and feeds one output to your TV. It is the easiest, cheapest way to add more HDMI ports to TV while keeping your existing screen.
What to look for:
– Bandwidth: For 4K/120 or 8K, choose a 48 Gbps HDMI 2.1 switch that supports FRL, VRR, and ALLM.
– HDR formats: Ensure support for HDR10, HDR10+, HLG, and Dolby Vision if you use them.
– HDCP and EDID: Look for HDCP 2.3 and EDID management to reduce handshake issues.
– Power: Prefer externally powered switches. They are more stable than passive ones.
– Auto‑switching and remote: Auto input switching is handy. A remote or front button helps too.
– CEC pass‑through: Useful if you want the TV remote to control devices, but it can cause conflicts. Make sure you can turn CEC off if needed.
Pros:
– Low cost.
– Tiny footprint.
– Easy install.
Cons:
– Some cheap switches drop HDR, 4K/120, or VRR.
– CEC can act flaky through a switch.
– Another device to power and manage.
If you do not game at 120 Hz or use VRR, a good 18 Gbps switch (4K/60 HDR) is fine. Gamers and PC users should choose a certified 48 Gbps model and certified Ultra High Speed HDMI cables. If you also want to upgrade sound and simplify control, consider an AVR next.
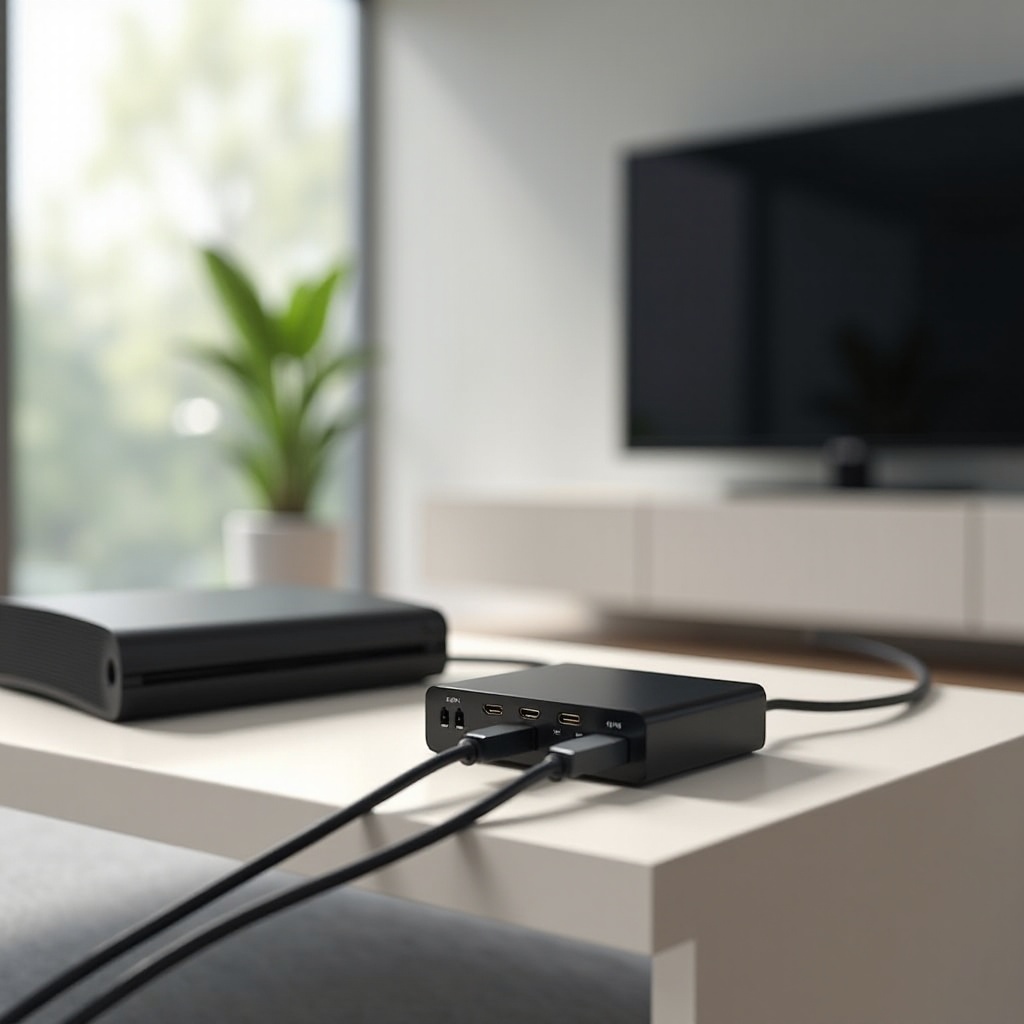
Option 2: AV Receivers — Add Ports and Upgrade Audio at Once
An AV receiver serves as a central hub. You plug all sources into the AVR, then run one HDMI cable from the AVR to the TV. It adds many inputs and improves audio with real speakers. This path suits users who want more HDMI ports and a major audio upgrade in a single move.
Why choose an AVR:
– Inputs: 5 to 7 or more HDMI inputs on many models.
– Video features: Some models support 4K/120, VRR, ALLM, and HDR pass‑through on multiple inputs.
– Audio: Decode Dolby Atmos and DTS:X. Power speakers for a full surround system.
– Control: One hub. One input list. Often easier to manage.
What to check before buying:
– HDMI 2.1 inputs: Make sure enough inputs support 4K/120 for your needs.
– eARC on the AVR: Lets your TV apps send lossless audio back to the receiver.
– Firmware: Confirm fixes for early HDMI 2.1 chip issues on some models.
– Size and heat: Ensure space and airflow in the cabinet.
If you already use a soundbar, an AVR may be more than you need. If you want better sound and more HDMI ports in one move, an AVR is the cleanest long‑term solution. If you drive more than one display, look at matrix and splitter options.
Option 3: HDMI Matrix and Splitters — When and When Not to Use Them
A splitter takes one source and duplicates it to two displays. A matrix switch lets you select which of several sources go to which of several displays. These devices solve multi‑display needs, not input shortages on a single TV.
Use cases:
– Splitter: Send a game console to a TV and a capture card. Or mirror the same content to a TV and a projector.
– Matrix: Feed multiple sources to two displays, such as a living room TV and a projector in the same room.
Cautions:
– A splitter does not add inputs. It duplicates one input. For more inputs, you still need a switch or AVR.
– The entire chain often runs at the lowest common denominator. A 1080p display can force a 4K source to drop resolution if EDID management is poor.
– High‑bandwidth HDR, 4K/120, and VRR require premium matrix gear. Many budget models cannot handle it reliably.
Choose a matrix only if you truly need multi‑display routing. For single‑TV homes, a simple switch or AVR is easier and more stable. If an eARC port is the choke point, an eARC extractor can free it without changing your display plan.
Option 4: eARC or ARC Audio Extractors — Preserve Sound While Freeing Ports
The TV’s eARC port is precious. It carries the TV’s app audio to a soundbar or AVR, but it also consumes a valuable HDMI input. An eARC extractor can free the eARC port while keeping audio quality.
How it works:
– The extractor connects to the TV’s eARC port.
– It passes full‑bandwidth audio (like Dolby TrueHD Atmos) to your soundbar or AVR via HDMI.
– It offers an extra HDMI input or passes the video back to the TV, freeing or consolidating ports.
When to use:
– You have a soundbar on the TV’s eARC port and you need one more TV input.
– You want to keep streaming from TV apps with lossless Atmos while adding devices.
Check for:
– eARC compliance and passthrough of Dolby TrueHD or Atmos.
– 4K/120 and HDR pass‑through if you route sources through it.
– CEC support and the ability to disable it if needed.
If you only need to add inputs, a switch is cleaner. If the eARC port is the pinch point, an extractor is the right tool. With choices clear, let us select the best device with a simple checklist.
Choose the Right Device: Decision Tree and Buying Checklist
Use this quick decision flow:
- Only one display, need 1 to 3 more inputs, no 4K/120 gaming: Buy a good 18 Gbps HDMI switch.
- Only one display, need 4K/120 and VRR for consoles or PC: Buy a certified 48 Gbps HDMI 2.1 switch and Ultra High Speed cables.
- Want more inputs and better sound with speakers: Buy an AVR with enough HDMI 2.1 inputs and eARC.
- Two displays or a capture workflow: Consider a matrix switch or splitter with EDID control.
- Need to keep a soundbar on eARC but free a port: Use an eARC audio extractor.
Buying checklist:
– Bandwidth and features: 4K/60 vs 4K/120, HDR formats, VRR, ALLM.
– HDCP 2.3 and EDID: Must‑have for modern sources.
– Power and build: Externally powered, metal chassis preferred.
– Firmware updates: Vendor provides fixes and updates.
– Cables: Use certified Ultra High Speed HDMI for any 4K/120 link.
With the right device in hand, setup is straightforward. Follow the steps below for a clean and stable system.
Step-by-Step Setup: Connect, Configure, and Test
Follow these steps for a clean install:
1) Plan the layout
– List your sources and note which need 4K/120, HDR, or Atmos.
– Reserve the TV’s eARC port for audio gear when needed.
– Decide if you want auto‑switching or prefer manual control.
2) Make the connections
– Connect sources to the switch, AVR, or matrix. Use short, certified Ultra High Speed HDMI cables for 4K/120 devices.
– Connect the device’s HDMI out to the TV’s high‑bandwidth port (often labeled HDMI 2.1 or 4K/120).
– If using a soundbar, connect it to the TV’s eARC port. If using an AVR, connect the AVR’s HDMI out (eARC) to the TV’s eARC port.
3) Configure TV settings
– Enable enhanced HDMI, input signal plus, or deep color on the used TV ports.
– Turn on eARC in the TV’s audio settings if using a soundbar or AVR.
– Disable energy‑saving modes that can cut power to HDMI chips during standby.
4) Configure sources
– On PS5, Xbox, or PC, set 4K resolution, 120 Hz, VRR, and HDR as needed.
– For Blu‑ray or streamers, enable HDR and set audio to bitstream for Atmos.
– On PCs, set RGB or 4:4:4 for desktop use; use 4:2:2 or 4:2:0 for tight bandwidth links.
5) Test each source
– Check resolution, refresh rate, HDR format, and audio format on the TV’s info panel or AVR display.
– Run a quick game or HDR clip to confirm smooth motion and color.
– Verify CEC control if you use it; confirm the right device wakes and switches inputs.
6) Label and tidy up
– Rename TV inputs so you know what is on each.
– Use cable ties and a power strip with surge protection.
– Keep power bricks ventilated; avoid bundling them tightly.
7) Optimize control and convenience
– Map universal remote buttons or set up app controls.
– Decide which device owns CEC control; disable CEC on others if you see conflicts.
If a device fails any test, move to the troubleshooting steps below. Fix the chain now so you enjoy trouble‑free use later.
Troubleshooting: No Signal, Handshake, HDR or 120 Hz Issues
Most HDMI problems trace to bandwidth, EDID, or control conflicts. Fix them fast with these steps:
- No signal or flicker:
- Power‑cycle the chain: TV, then switch or AVR, then sources.
- Try a shorter cable on the longest link.
- Replace any non‑certified HDMI cable with a certified Ultra High Speed one.
-
Connect the source directly to the TV to isolate the failing link.
-
HDR or 120 Hz not working:
- Enable the TV’s enhanced HDMI or deep color on that port.
- On consoles or PC, set output to 4K/120 or lower chroma if bandwidth is tight (4:2:2 or 4:2:0).
- Ensure the switch or AVR supports 48 Gbps if you demand 4K/120.
-
Disable forced Dolby Vision on sources if your chain does not support it end to end.
-
Audio dropouts or no Atmos:
- Turn on eARC on both TV and soundbar or AVR.
- Set source audio to bitstream; disable PCM when needed.
- Use lossless‑capable apps on the TV or the source device.
-
Consider an eARC extractor if the TV’s port limits your layout.
-
CEC weirdness (random input switching or power on):
- Disable CEC on one or more devices to isolate the culprit.
- Use manual input switching on the switch or AVR remote.
-
Set the TV to not auto‑switch on new device detection.
-
HDCP or EDID errors:
- Update firmware on the TV, switch, AVR, and sources.
- Use a switch or matrix with EDID presets; try a 4K/60 10‑bit EDID to stabilize Dolby Vision chains.
- Replace any old HDMI extenders or wall plates that cap bandwidth.
Work methodically: change one thing, test, then move on. If issues persist, document your chain and contact the device maker with exact models and firmware versions.
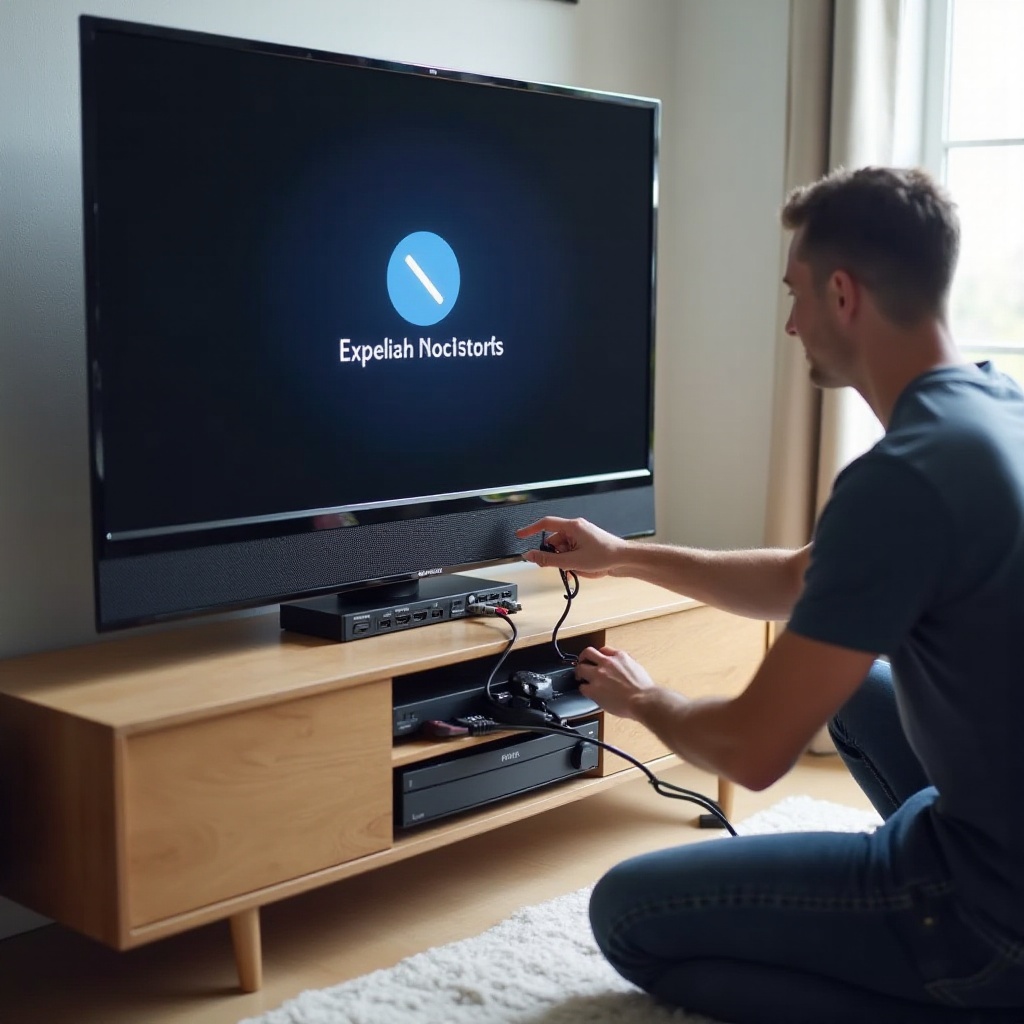
Example Setups for LG, Samsung, and Sony TVs
Every brand labels features differently. Here are common patterns and quick tips.
LG OLED or QNED
– Ports: Many models have two or four HDMI 2.1 ports. eARC is often on HDMI 2.
– Tips: Enable HDMI deep color per port. Turn on instant game response (ALLM) for consoles. Simplink is LG’s CEC; disable it if you see switching loops.
– Example: Two consoles plus streamer plus Blu‑ray on a 4‑in 1‑out HDMI 2.1 switch. Switch output to HDMI 1 (2.1). Soundbar on HDMI 2 (eARC). Keep 4K/120 and Atmos.
Samsung QLED or Neo QLED
– Ports: Many have at least one or more HDMI 2.1 ports. eARC is often HDMI 3. An external One Connect Box may group all ports.
– Tips: Turn on input signal plus for higher bandwidth. Anynet+ is Samsung’s CEC. Use game mode for low latency and VRR.
– Example: Plug PS5 and Xbox into a 48 Gbps switch. Connect switch to HDMI 4 (2.1). Soundbar to HDMI 3 (eARC). Streamer to HDMI 1 on TV.
Sony Bravia OLED or Mini‑LED
– Ports: Commonly two HDMI 2.1 ports. eARC is often HDMI 3. Some models share bandwidth between HDMI 3 and 4.
– Tips: Enable enhanced format (Dolby Vision) for HDR. Bravia Sync is Sony’s CEC. Prioritize a direct connection for the most demanding console if the switch is older.
– Example: Use an eARC extractor if eARC ties up HDMI 3 and you need another port. Or move all sources into an AVR and run a single cable to HDMI 3 (eARC).
Projector plus TV combo
– Use a 2×2 matrix to route sources to both displays. Set EDID to match the projector’s limit so the TV does not force a higher mode the projector cannot use. Consider a separate audio path via an AVR for consistent sound.
Always verify your specific model’s manual for port numbers and settings. With the layout set, a few accessory choices will lock in reliability.
Cable and Accessory Recommendations
Cables matter. Weak links cause most failures.
- For any 4K/120 or VRR path, use certified Ultra High Speed HDMI cables. Look for the QR label that verifies certification.
- Keep cables short where possible. For long runs, use active or fiber HDMI rated for 48 Gbps.
- Power your switch, matrix, or extractor with the included adapter. Avoid USB‑powered units if they brown out.
- Use surge protection for all gear. Stable power reduces handshakes and flicker.
- Label both ends of each cable. It saves time when you add or swap devices later.
A small investment in cables and power pays off with a stable, frustration‑free system.
Conclusion
You can add more HDMI ports to your TV without buying a new screen. A simple HDMI switch solves most cases. An AVR adds ports and better sound in one move. A matrix helps when you drive two displays. An eARC extractor frees a port while you keep Atmos from TV apps.
Check your TV’s HDMI, eARC, and bandwidth needs. Match your choice to your sources. Use certified cables and set your TV inputs to enhanced mode. If you hit a snag, troubleshoot one step at a time. With the right plan, you will keep 4K/120, HDR, VRR, and Atmos, and gain the HDMI ports you need.
Frequently Asked Questions
Can I add HDMI 2.1 ports to a TV that only has HDMI 2.0?
You cannot upgrade the TV’s ports themselves, but you can add HDMI 2.1 inputs externally. Use a 48 Gbps HDMI 2.1 switch. Connect high‑bandwidth sources to the switch, then the switch to the TV’s best port. You will still get 4K/120, VRR, and HDR if the TV supports them on that port. If the TV tops out at 4K/60, a 2.1 switch will not force 120 Hz; the chain runs at the TV’s limit.
Do I need an HDMI switch or an AV receiver for a soundbar with eARC?
If you like your soundbar and only need more inputs, use an HDMI 2.1 switch plus the TV’s eARC to the soundbar. If the eARC port consumes a valuable input, consider an eARC extractor to free one. Choose an AV receiver only if you want a full speaker setup and a central hub. An AVR replaces the soundbar and expands HDMI in one step.
Will an HDMI switch affect 4K/120 gaming performance?
A quality 48 Gbps switch does not add meaningful lag and will pass 4K/120, VRR, ALLM, and HDR. Problems arise with cheap or non‑certified switches and cables. Use certified Ultra High Speed HDMI cables. Keep the chain short. If a game drops to 60 Hz or HDR fails, enable the TV’s enhanced HDMI mode, update firmware, and test with a direct connection to confirm the switch and cables can handle the load.